One week to the big reveal, friends!! 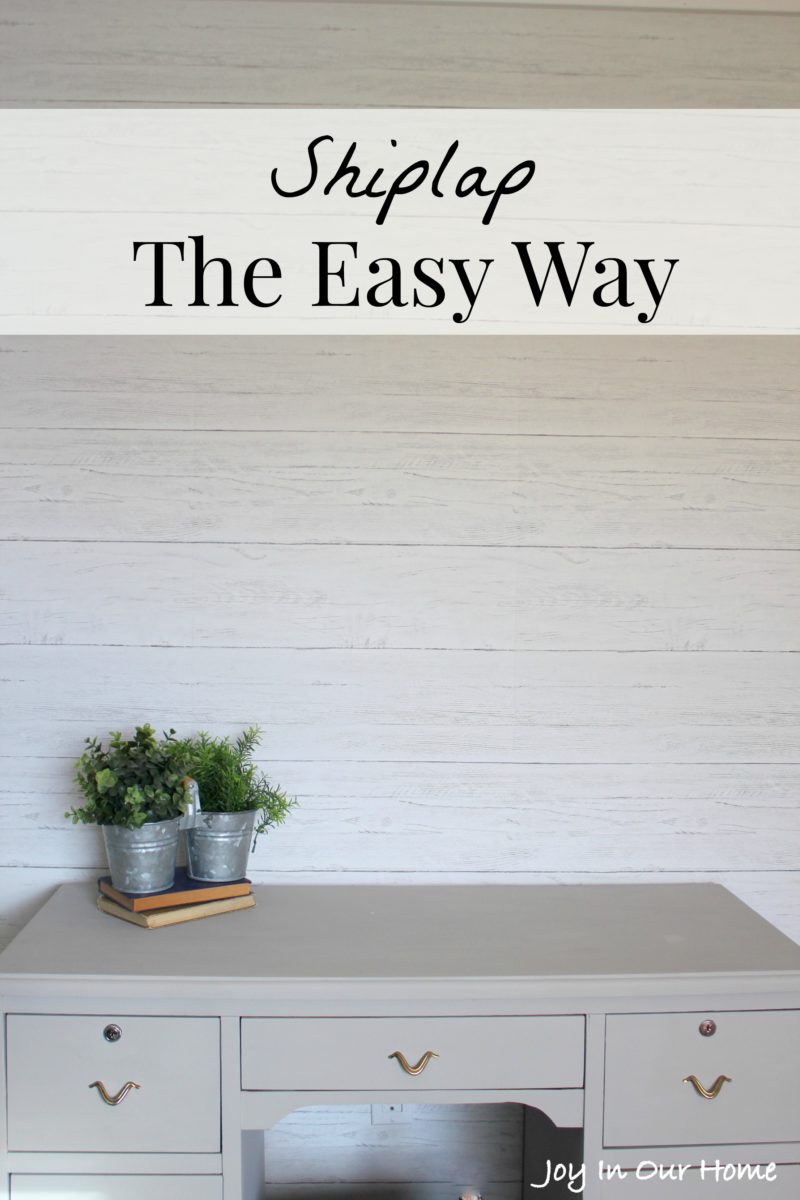
That deadline is supposed to make me start stressing but I’ve been there before and I’m not stressed! I’m SO happy how far we’ve come in the last 5 weeks and glad for every little bit of progress we’ve made! While there’s work to be done still, I’m looking forward to when I can sit back in my new chair and read a good book!
But until then, let’s talk about what we did this past week.
If you remember back to week 1, I shared this board as our inspiration…
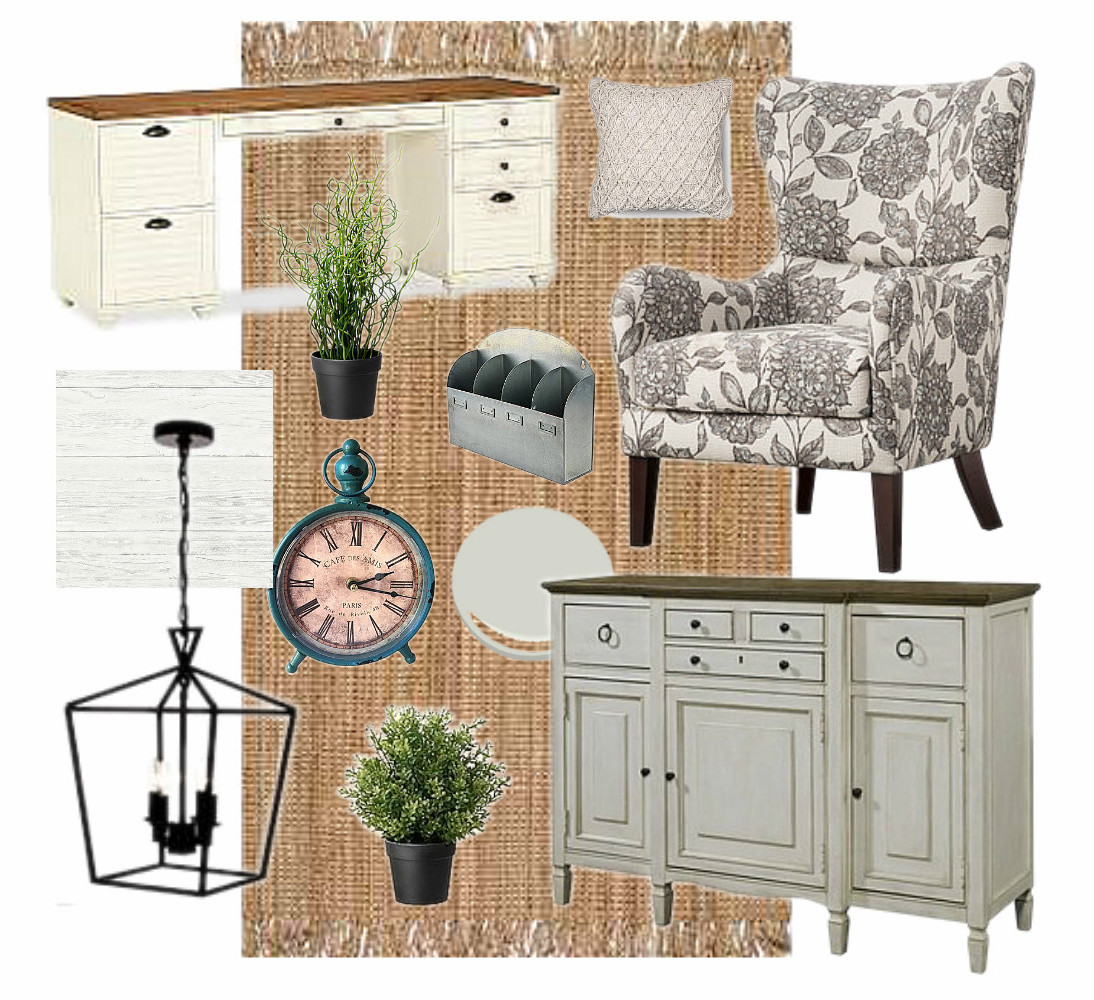
(This post contains affiliate links. Please see my full disclosure and privacy policy here.)
And if you’d like to catch up on Week 2, Week 3 and Week 4 please do! There’s been some fun progress along the way!)
This week we got busy with our walls. My first thought when making a plan for this room was to add shiplap. Shiplap gives any room that farmhouse style that me (and a million other people!!) have come to love!
So before we went to our second home Home Depot I got this crazy awesome idea to add wallpaper that looks like shiplap. I’ve seen such beautiful wallpaper on social media lately and have wanted to try it so much. I decided this was my chance!
As soon as I saw this beautiful wallpaper that resembles a distressed shiplap design I was sold! Wallpaper is something I’ve admired from a distance… I loved it in other people’s homes but shied away from it. I think it was the thought of one day having to remove it if my style changed. Also, a couple summers ago I was cleaning this rental property where I had to remove wallpaper and the entire time I fought with the glue I vowed I’d never put it up in my own home. But fast forward a few years to this peel and stick wallpaper that is easy to remove and I was convinced to give it a try.
And I’m so glad we did, friends! It couldn’t have been easier to install. From start to finish it took my husband and I just 3 hours to put up.
The directions that come with the wallpaper form D. Marie Interiors were easy to follow and right on point. Therefore, I won’t go into too much detail but in case you’re curious before placing you order, I’ll share a few important things we learned.
Your wallpaper must go on your walls starting from left and going right. Don’t ask me to why but you’ll be total butterfingers if you start the other way. Especially with our pattern running vertical and the way the rolls run, it needs to start on the left side of your room. 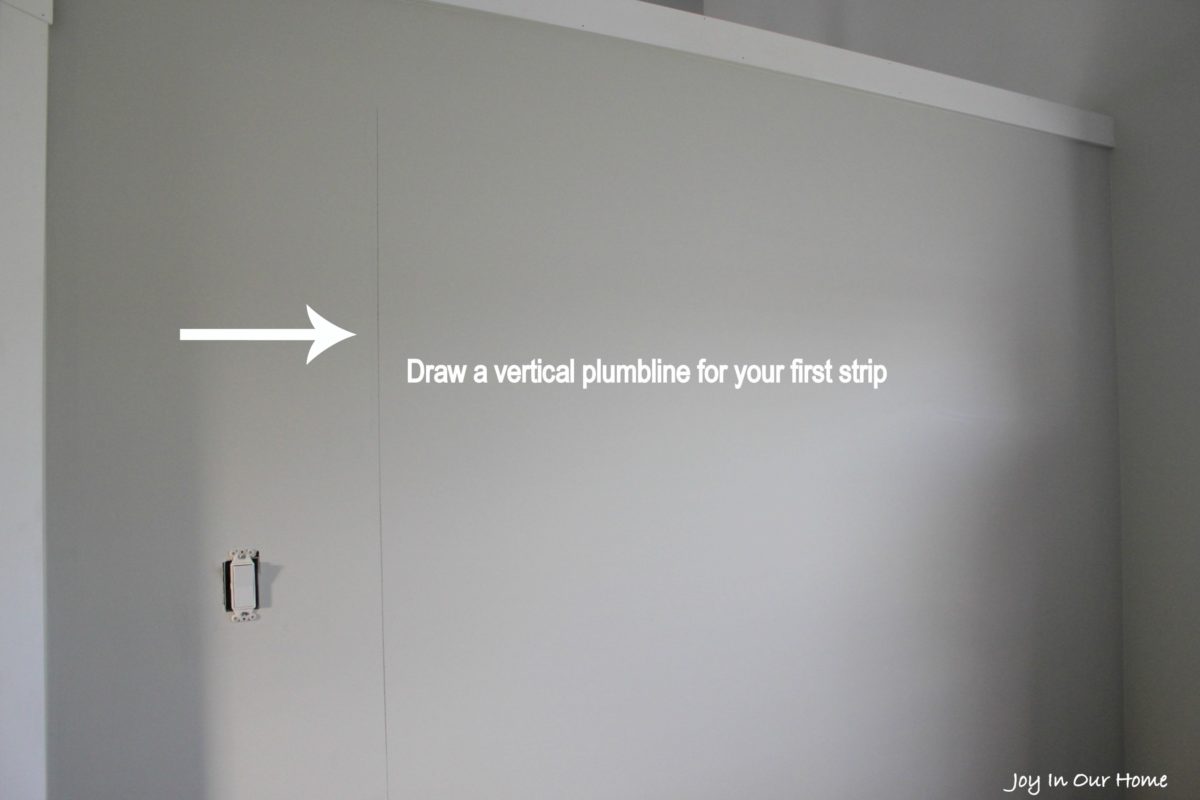
Another absolutely essential step is drawing a vertical plumbline so your wallpaper lines up roll after roll. As straight as the walls and the corners in our homes appear, they are not always perfectly straight. The width of our wallpaper was 20.5″ so starting from the wall, using a leveler, make a line at 20″. That way you can overlap the wallpaper in the corner and then using a sharp blade tool cut the excess wallpaper off in your corner. You’ll need to make another plumbline once you reach a door or corner. 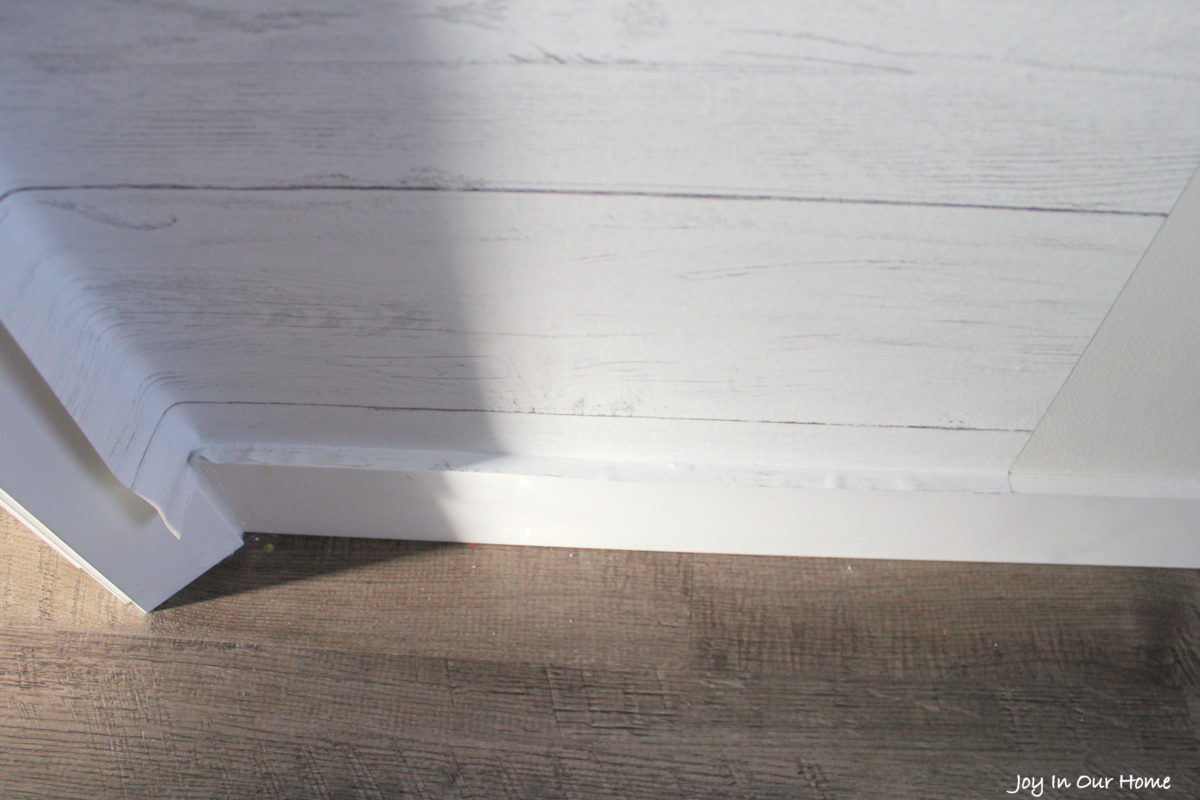
When we came to the bottom of the wall we allowed the slightest overhang, as you an see in the above pictures. Using a scissor, cut the wallpaper off the roll and using a sharp blade knife trim the wallpaper off along your baseboards. 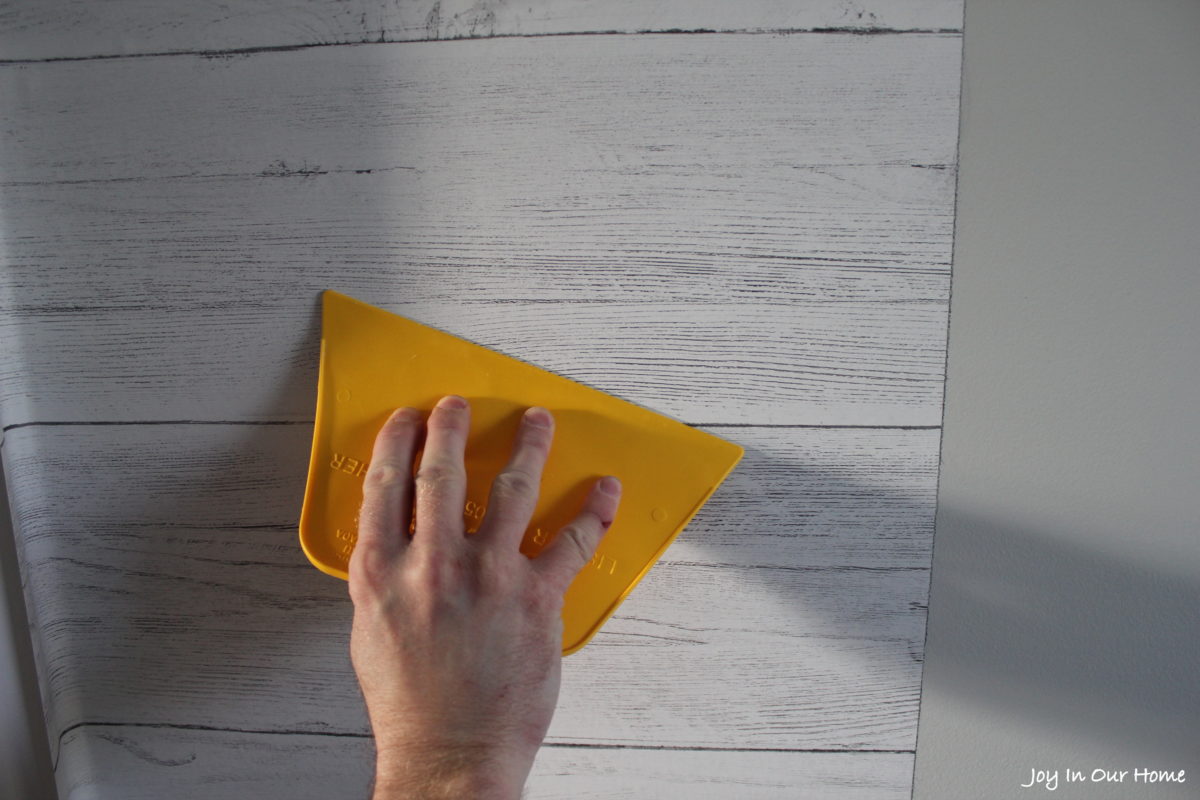
This smoothing tool is a lifesaver when applying wallpaper and definitely worth the $5! We used it to smooth out the tiny bubbles that are inevitable.
A couple of times we seemed to get off kilter a tiny bit and it’s easy to remove and reapply that strip. We gave D. Marie Interiors our measurements for our walls and they figured out how many rolls we’d need. We had exactly enough, minus the tiniest strip at the very end of our wall on the bottom. I suggest if you don’t want a seam in the very middle of a main wall, I would definitely order another roll to avoid having a seam there. While our seams are beautiful, when direct sunlight hits that wall you can see the seam. I think it would be well worth the extra expense to order another roll so we could’ve avoided seams mid-wall. Having said that, I don’t plan on keeping that wall blank so it’ll all work out! 😉 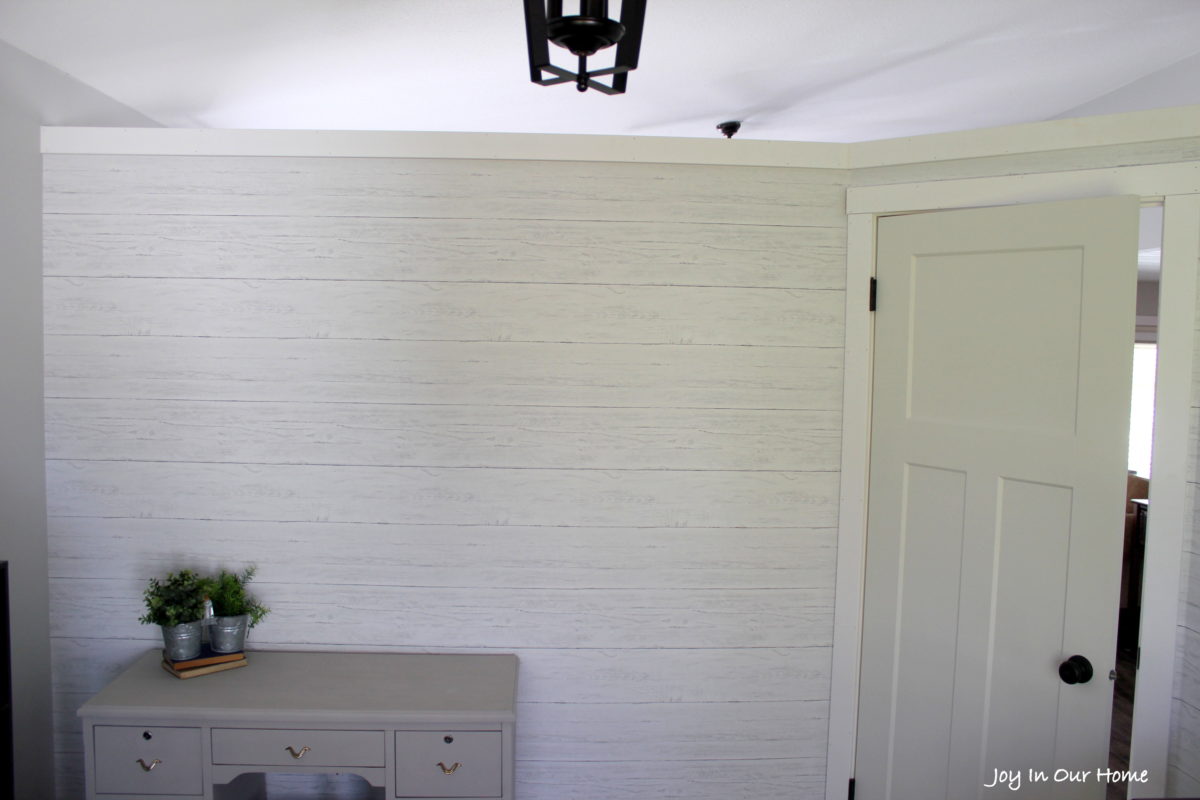
I absolutely love the farmhouse character it brings to these walls! When I was painting this desk that I shared last week, our daughter told me that it’s the same color as our walls! (It’s a few shades different but I’m so impressed at her style and noticing that the desk would blend right in). But now that it sits against this wall it definitely stands out!! 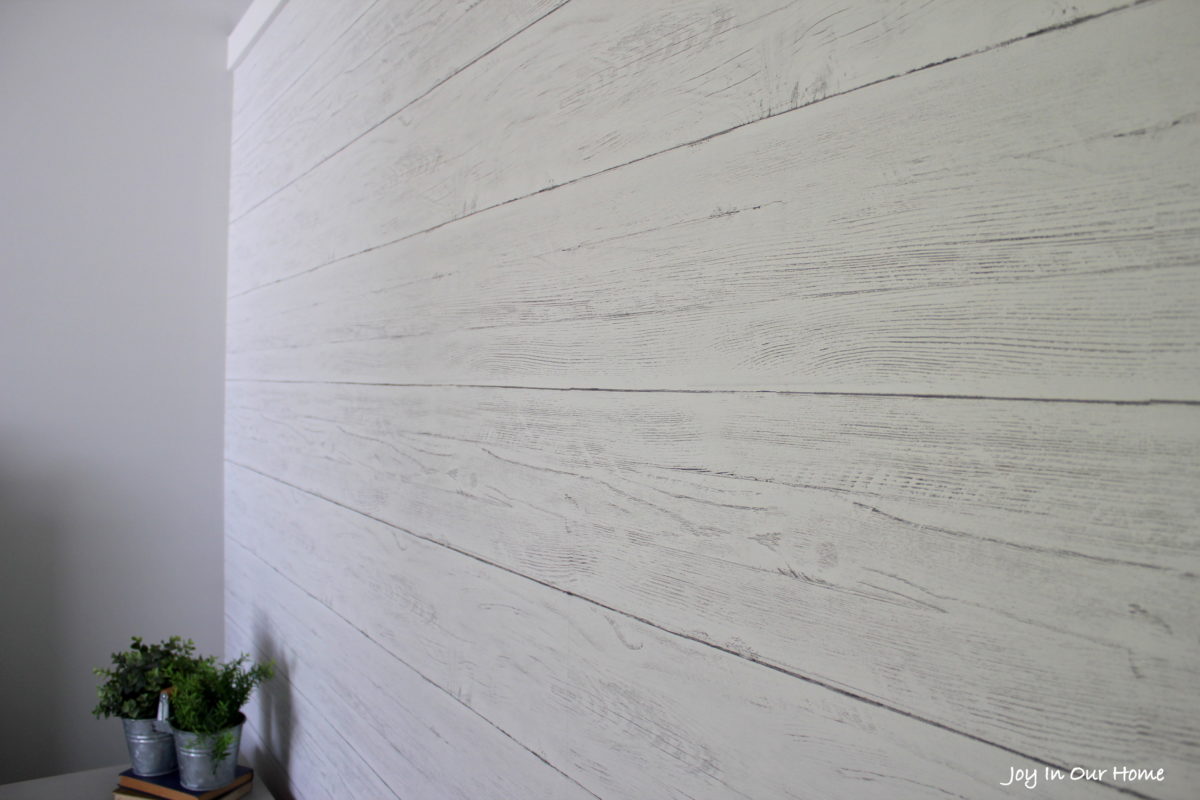
And like always, I love taking a peek at that to-do list!
Paint wallsChange glass colonial doorFind desk at a thrift or garage saleand repaintBuy chair- Reupholster footstool
- Organize all my craft supplies in a functional (and pretty!) way
- Add a rug
- Paint current blinds or buy new ones if budget allows
Add shiplap- Redo a buffet we already have and use it to organize
- Décor
Change light fixture
And just like that we are scheduled to do our big reveal of this ORC next Thursday! I cannot wait friends!! Thanks so much for following along on this fun DIY-journey!!


Perfect installation! Thanks for the tip on how to make it perfect stripe after stripe! Looking forward to the reveal next week!
Thank you so much, Tim!
Amazing! It totally looks real and sounds like it was way easier than installing real wood planks!Excited for the big reveal next week!
Thanks Bre! So glad we decided to go with it! Excited for Thursday! xo
LOVE the texture in that wallpaper! Cannot wait to see this reveal my friend!
Thanks! Kristi! So excited to show y’all this rooom! Have a great weekend! xo
Looks great! Love that it looks so much like shiplap. Good luck with the reveal next week!
Thanks so much Jenn! Excited for next week! So glad you stopped by! xo
Your wall looks great! Looking forward to the big reveal!
Thanks so much, Lauren! So happy with this wallpaper!
Wow, Kendra! That wallpaper is perfect in there and definitely easier than installing actual shiplap! I am excited for your space; it’s looking awesome!
Thank you, Bre! I love this wallpaper too!
This looks so real. I can’t believe its wall paper. Awesome. Can’t wait to see your reveal.
Thsnks so much, friend!