Hello friends!
Welcome back to another Monthly DIY Challenge!
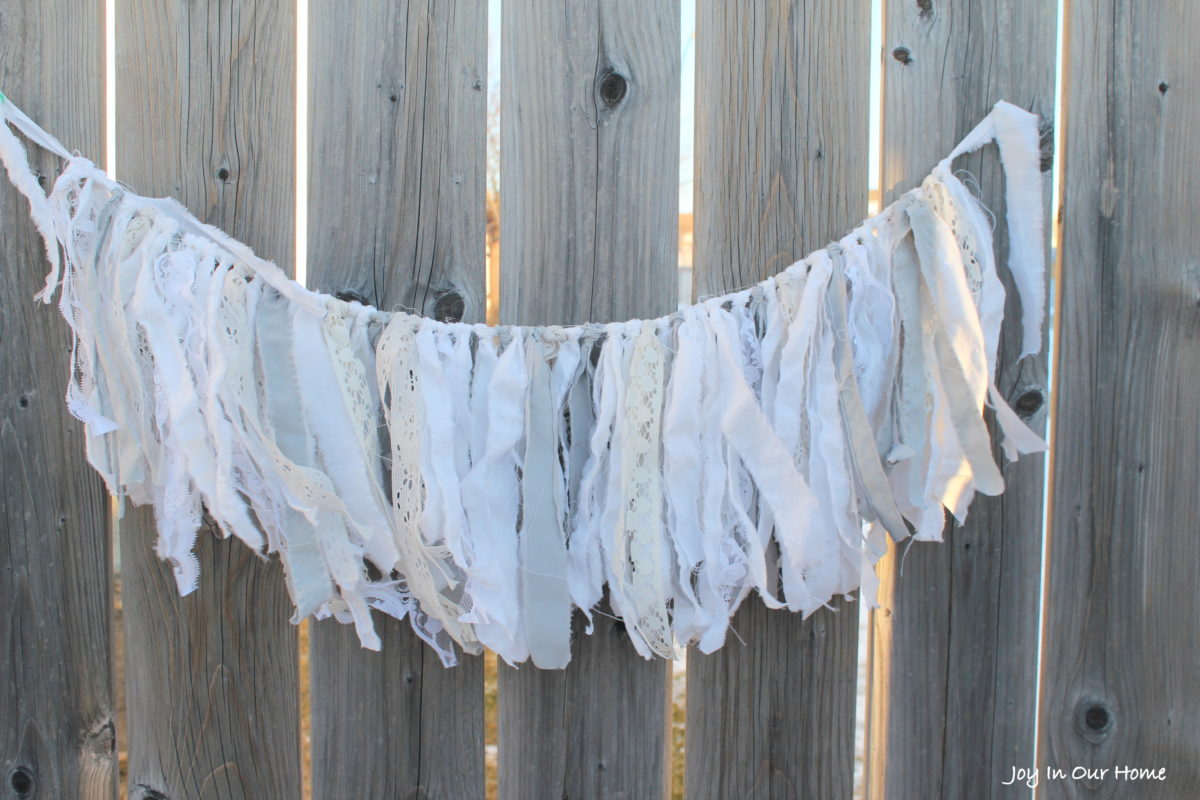
These monthly challenges seem to come around so quickly! It seems like yesterday that our March theme was pillowcases and I shared this simple DIY I made from scrap pillowcases…
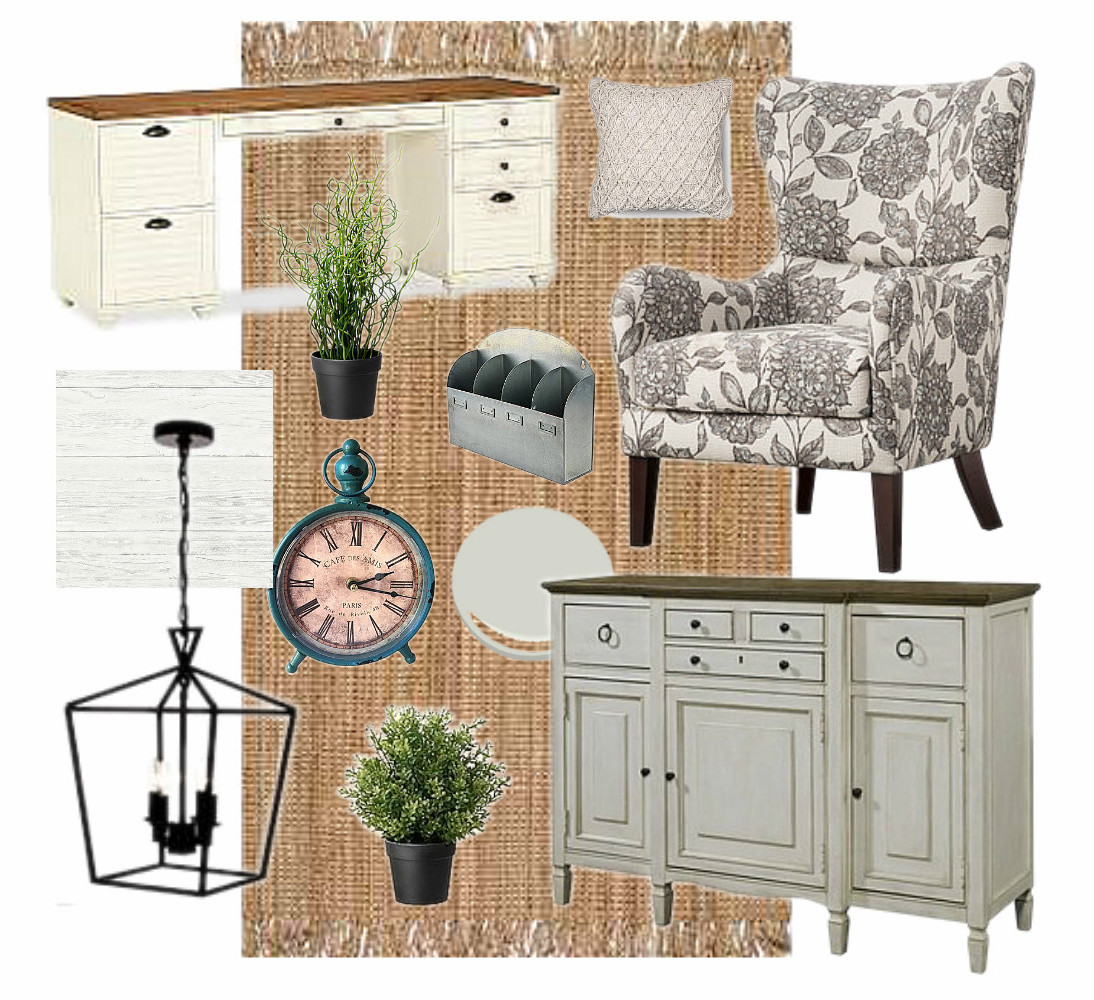
This months’ challenge totally snuck up on me. My mind is totally in One Room challenge mode. In case you missed it, check out my Farmhouse Style Office Makeover inspiration board. I shared last week. I’m so excited to transform this space into a functional and cozy work area!
But alas, it was time to shift gears and think about this months’ challenge. The second Wednesday of each month, a few of my blogging friends and I do a themed challenge. We all start off with the same item or theme and see what we come up with!
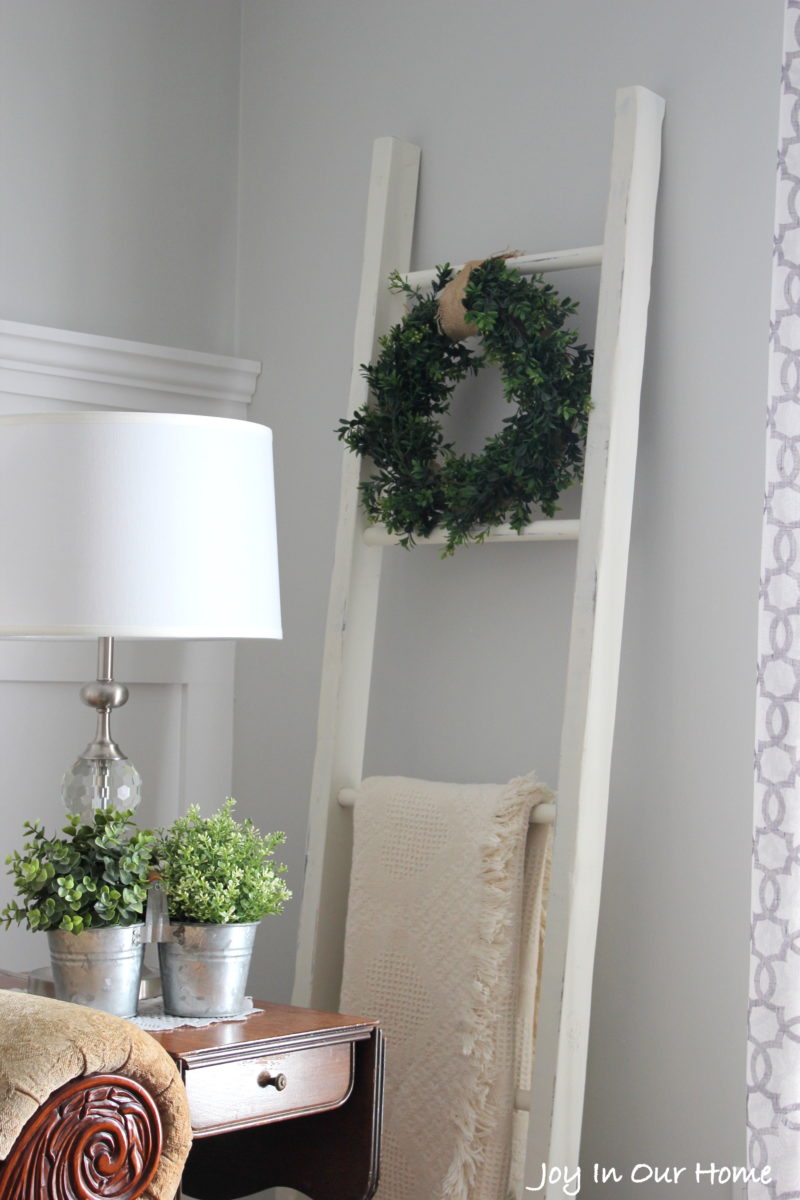
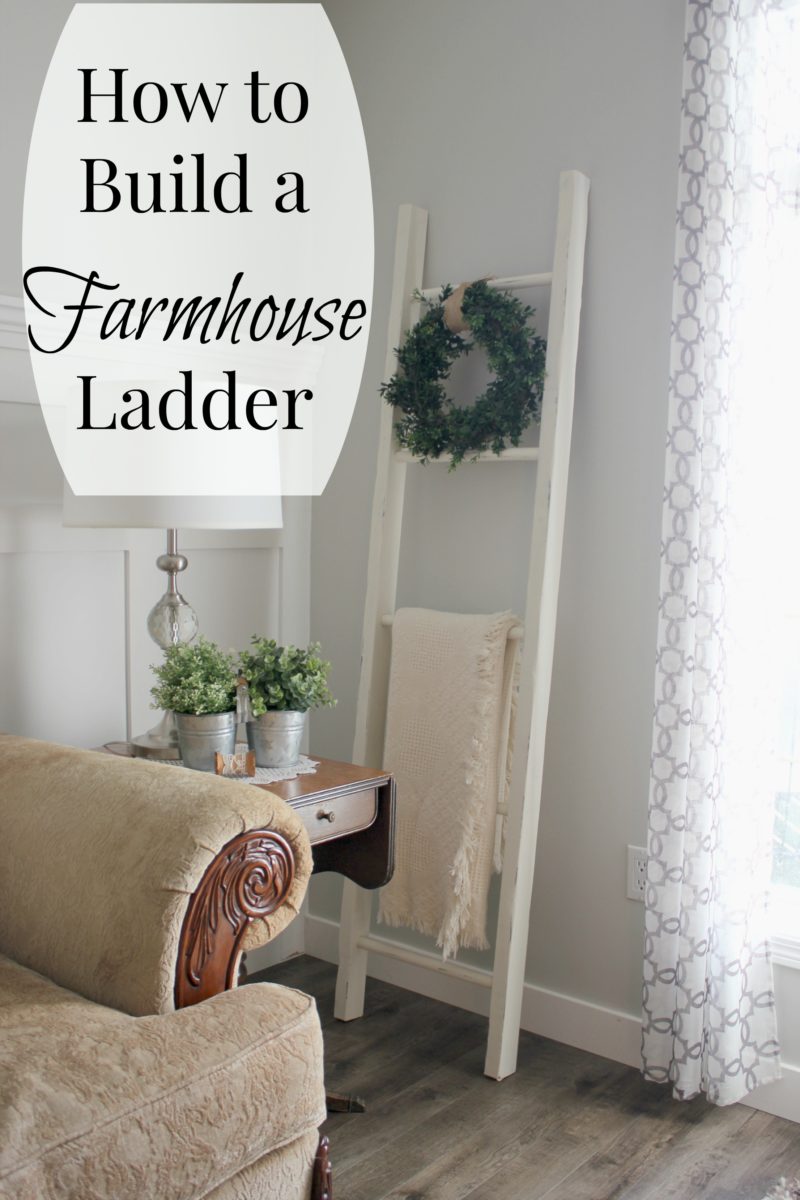
This month our theme was dowels and at first thought, I was stumped. But then I remembered this antique ladder I saw at a garage sale a couple of weeks ago. I would’ve loved to bring it home with me, but there was no way I was paying what they were asking. Especially when distressing wood is such an easy technique and I knew my husband could easily make one for me and I could paint and make it look old!
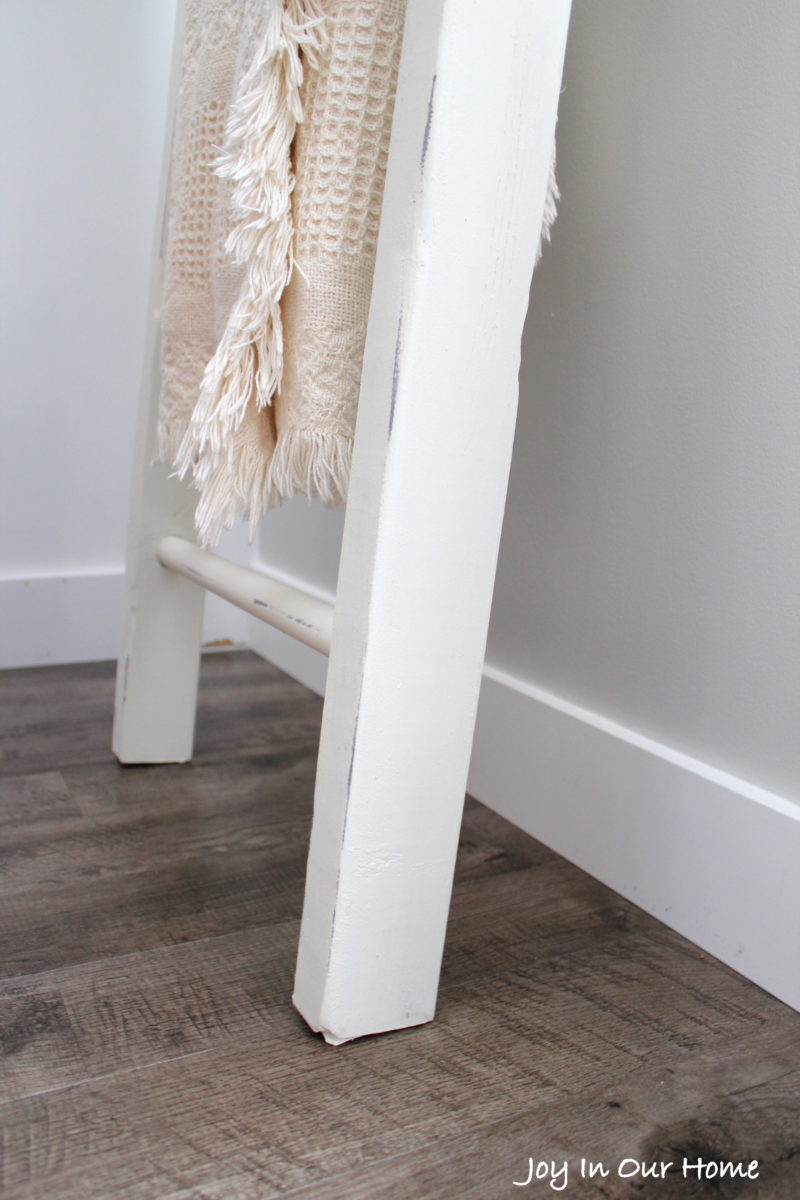
I am so glad we made our own, friends! If you’ve been wanting your own, I encourage you to make your own… it’s so easy and very affordable as well. Mine cost about $16 to make. It would be perfect to hang blankets in your living room or for towels in the bathroom or a guest room.
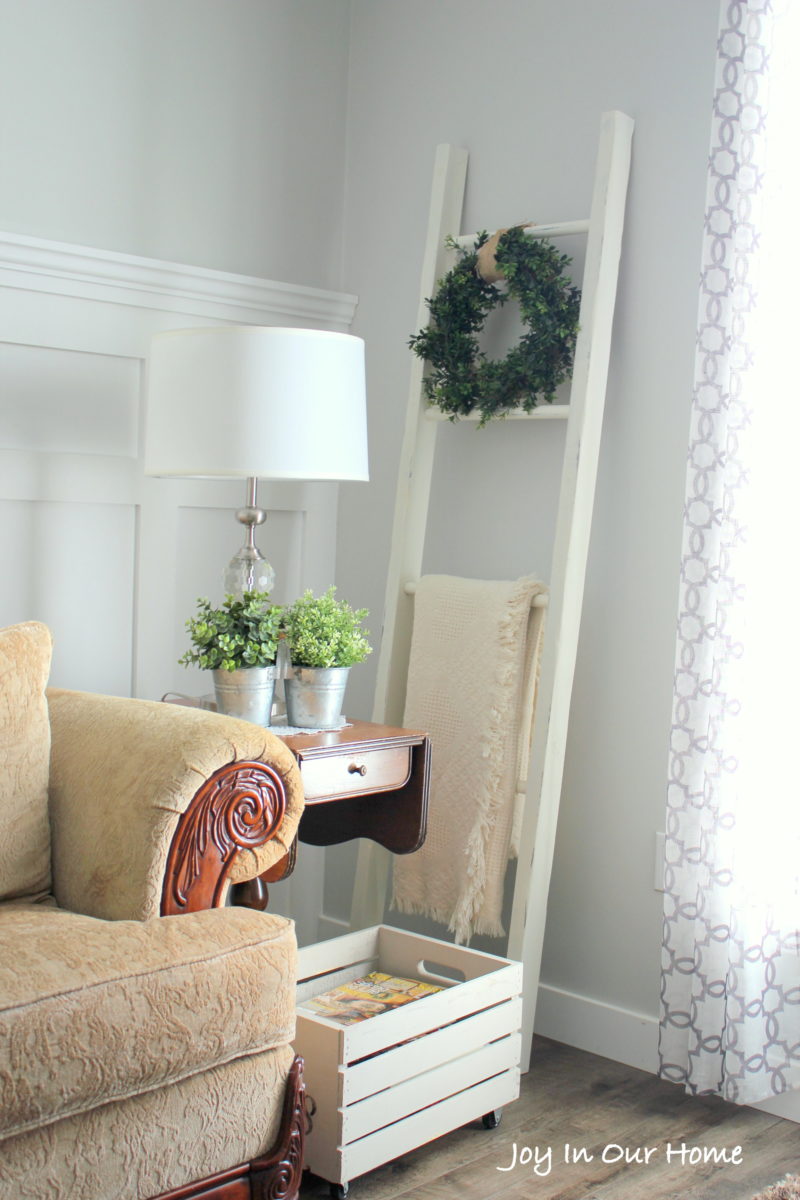
What you’ll need to make your own Farmhouse Style Ladder:
- 1 inch hole saw
- paint (I used Cobblestone and Simplicity from Country Chic Paint)
- hammer (for distressing the wood)
- clamps
- wood glue
- 6 foot pieces of 2x3s (2 pieces)
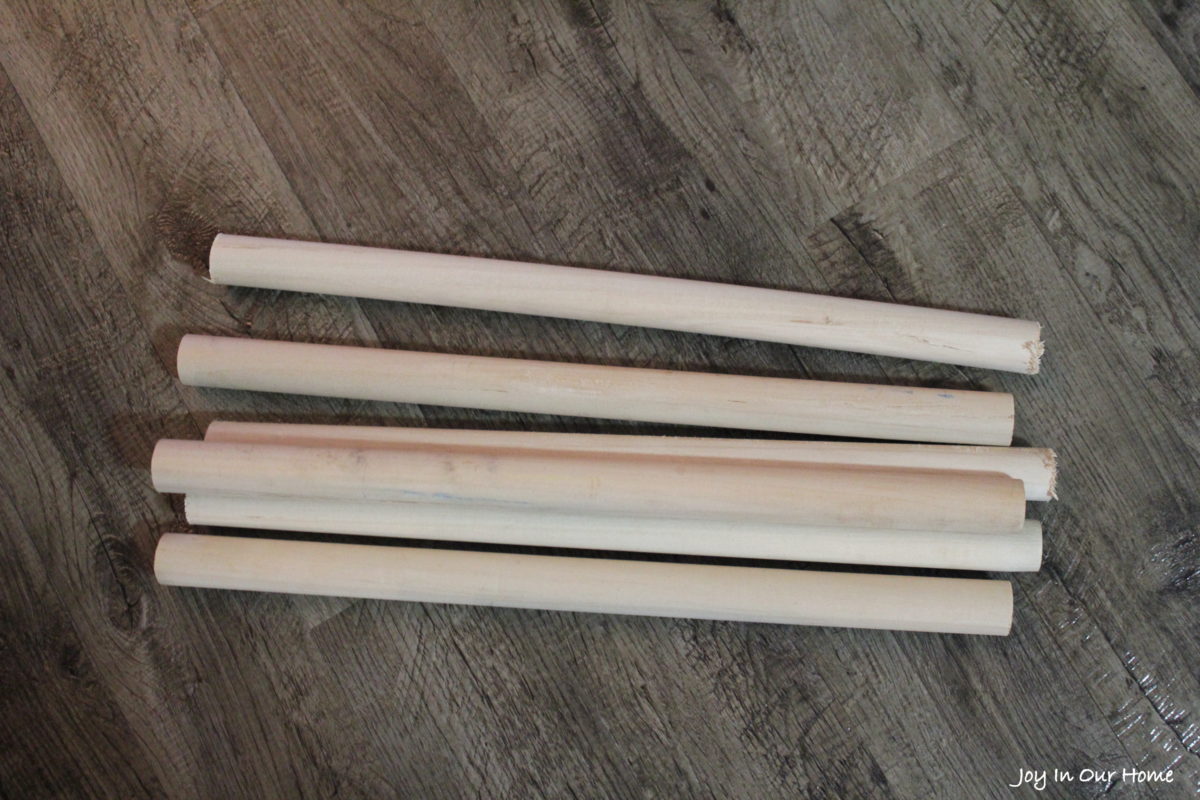
- 1 inch dowels (5 16″ pieces)
- clamps
Here’s how I made ours…
- I went to my favorite DIY store and purchased my wood.
- Cut the dowels into 5 16″ pieces.
- Cut the 2X3’s into 6feet lengths.
- Using a measuring tape, mark where you want the rungs to go. I placed my first rung 8 1/2″ from the top. The rungs are 13″ apart.
- Using a 1″ drill bit, drill holes approximately 1/2″ deep.
- If you’d like your ladder to look old and worn, use a hammer, and distress the ladder. (Ask your kids to help you with this part. They’ll be thrilled!)
- Using your favorite hand sander, give the ladder a really good sanding. You don’t want splints to snag your blankets (or fingers!)
- Paint your ladder. I gave it a coat of Cobblestone chalkpaint and 2 coats of Simplicity chalk paint. When it was completely dry I used a sander to distress the ladder on the rungs and the front of the ladder.
- Last, it’s time to assemble the ladder. Fill the holes with wood glue and place dowels into the pre-drilled holes. You might need to use a mallet to get them into the holes because of the paint.
- Using clamps fasten them to the sides of your ladder and secure them in place for 24 hours.
(All depending what you’re hanging from this ladder, you might want to use screws to help add extra strength to the rungs. This ladder is meant for decorative purposes only!)

I am so, so happy at how this ladder turned out that I’d love to make another one! I always have extra blankets in our guest rooms and I think it would look beautiful there as well!
But before you go, check out all the other creative dowel DIYs my friends came up with… so many neat ideas!!




I have a little obsession with ladders. They do such a great job filling up a blank section of the wall. And this one looks fabulous, especially with how you’ve decorated it. A beautiful handmade addition to your living room.
Thanks so much, Jamie! I’ve been looking for some art to hang in that corner and when I saw that old ladder at a garage sale it dawned on me to make one for this space! So glad you like it! xo
This is such a sweet and adorable project! I just adore blanket ladders and it’s so cool you could make a beautiful rustic farmhouse one for less than 20 bucks! Beautiful job!
Thanks so much, friend! So glad for this month’s challenge that encouraged us to make our own! xo
Hey! I’m visiting from IG. I’ve got my supply list written and I’m hoping to make my own. I love your ladder!
Thanks for stopping by Elizabeth! So glad you like the ladder… enjoy making your own! Let me know how it goes! 🙂
Such a cute ladder, Kendra!! And so easy to make! It looks beautiful in your living room. 🙂
Thanks so much, friend!! I’m soo happy with how it turned out!
This is a great post! I would love for you to come over and link up at Thursday Favorite Things! The party is live now through Saturday at midnight. Leave a comment for a chance to be featured!
https://followtheyellowbrickhome.com/ten-things-i-love-at-thursday-favorite-things/
Thanks for letting me know, Amber! I’ll be sure to link up this Thursday! Love hearing about new link up parties!
Where did you get 2 x 3’s or did you cut & plane them down from 2 x 4’s or something larger ?
Hi Helen,
They were 2X4s and my husband cut them down to 2X3’s. Good luck making your own! 🙂