Hello friends!
Hope you all had a great weekend! We are definitely counting down the hours days to summer holidays! Ask our kids (and mommy!) any day of the week and we’ll tell you exactly how many days left till summer holidays! We can’t wait for two months of no routine! Yes, we’re just a little excited!
I have lots of summer projects planned… our garage is becoming quite the collection of garage sale and thrift store finds that I want to redo during the summer. I got a head start though with this table… let me show you!
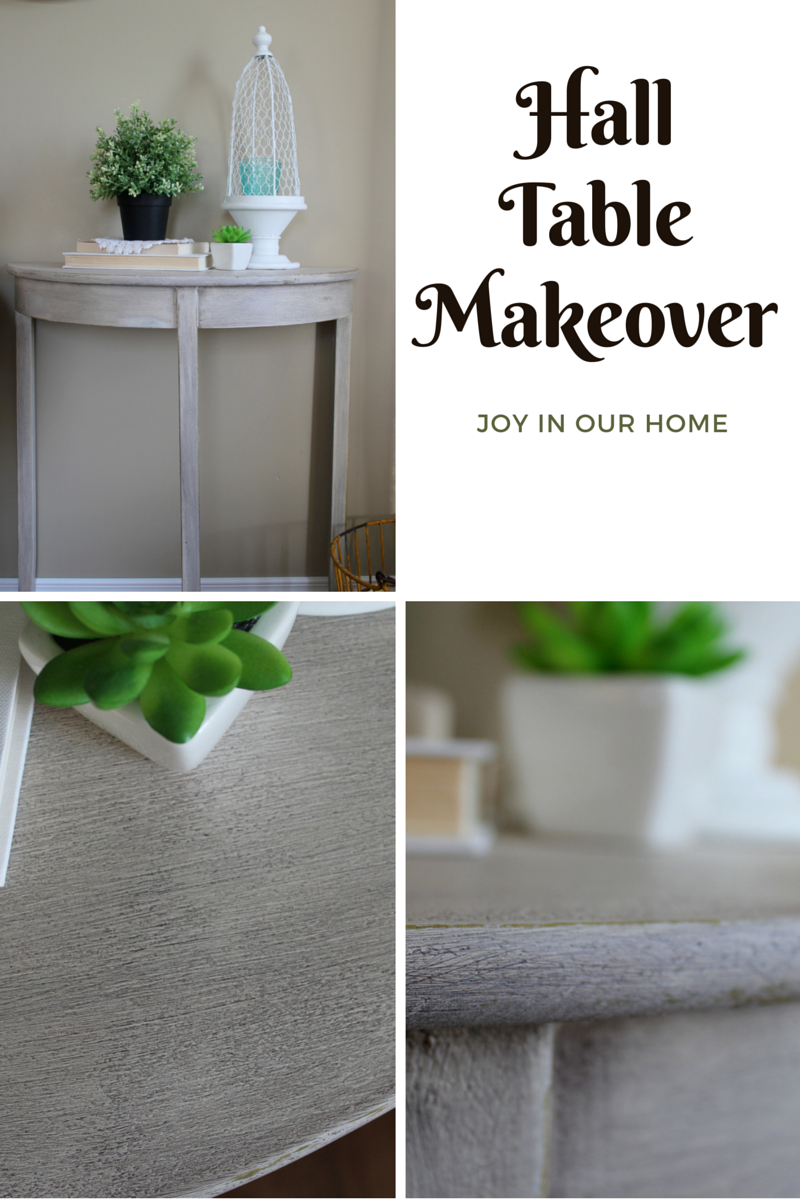
When I saw this table at a garage sale I knew I had to have it. Do you ever almost lunge or run when you see something in a thrift store or garage sale, knowing it has YOUR name written on it? I try to do it very discreetly but I’m afraid, sometimes I just get a little bit excited. I loved the size of this table and knew it could be so pretty in a new color!!
I used my favorite chalk paint, Country Chic paint for this makeover. I love that you don’t have to sand every little nook and cranny off… after a wipe down, you can start painting!
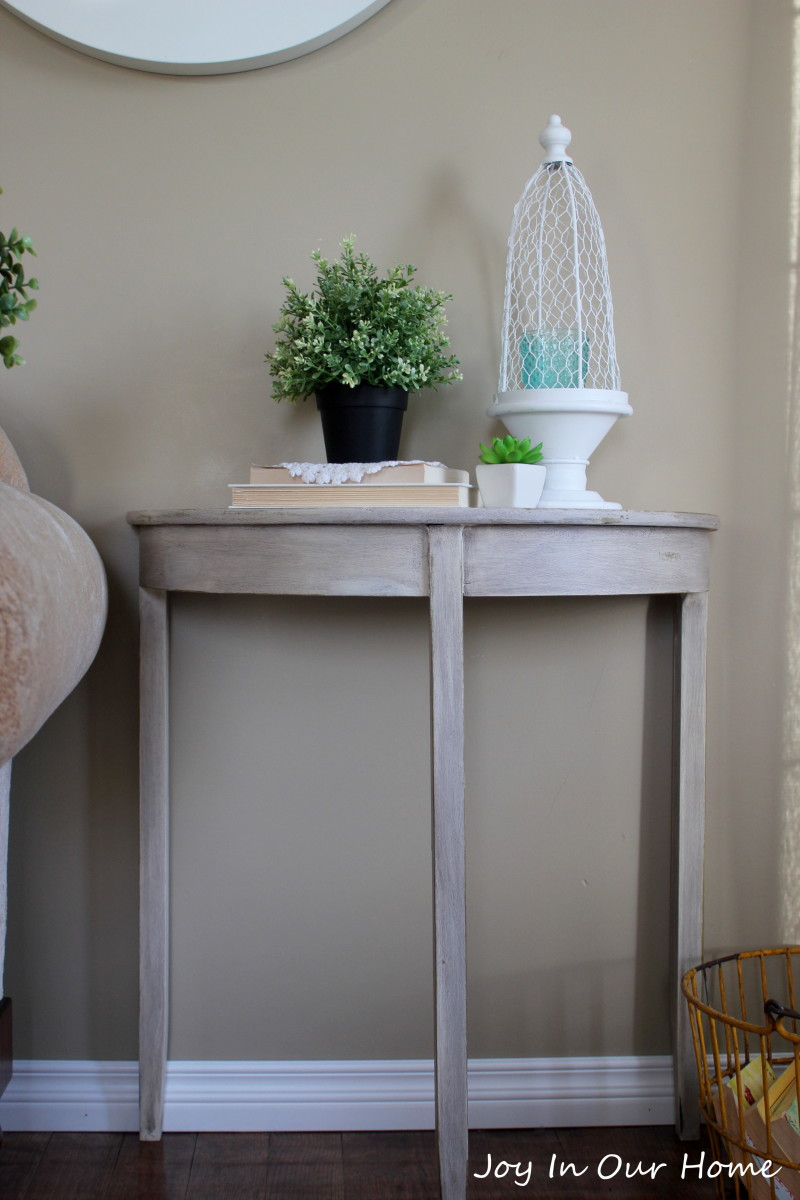
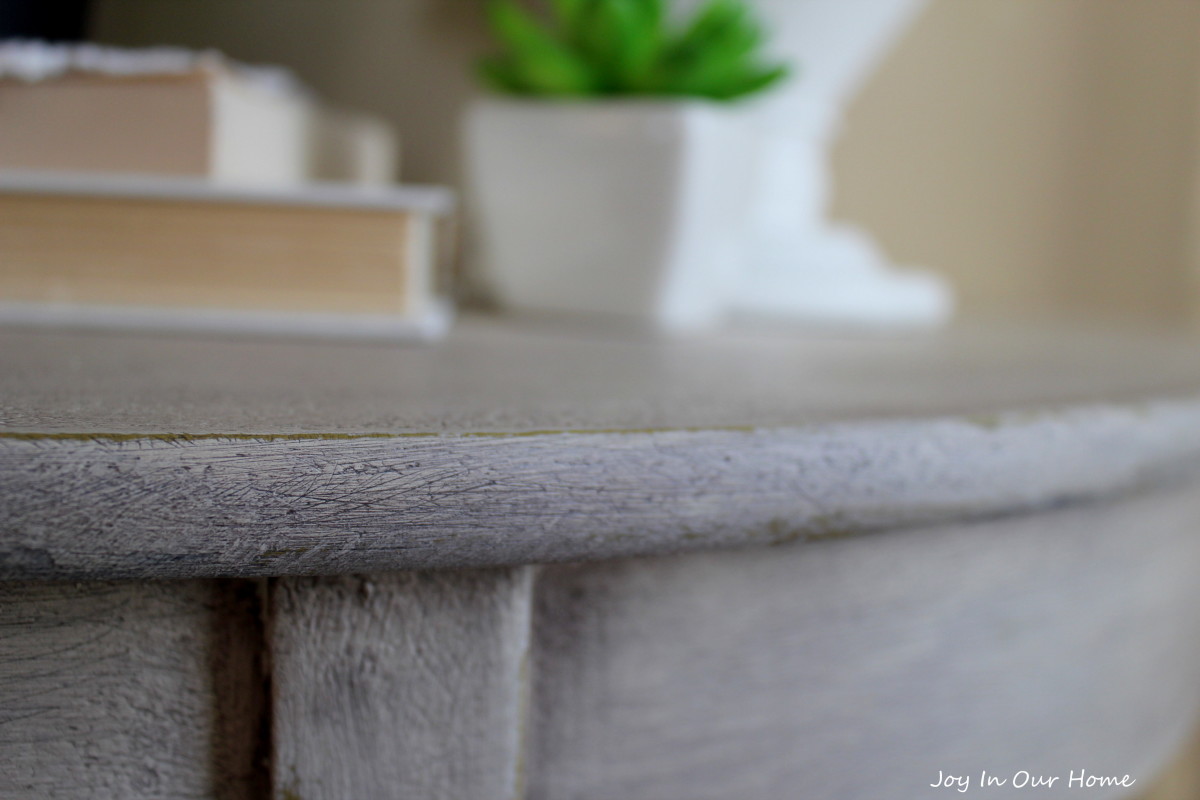
I gave the table a quick wipe down, and then sanded the top. It had some bubbles on the top from water damage but a light sanding did the trick. I gave it two coats of Country Chic Vanilla Frosting. After letting it dry completely, I applied clear wax using a circular motion. I immediately wiped it off using straight swipes. Once wiped off, I used 80 grit sandpaper and gently distressed in areas that would normally receive wear. Next, I applied a coat of antique wax using the same technique as the clear wax. I made sure to rub it into all the corners and crevises and especially the lines that the sandpaper made. Using a clean, dry cloth, I wiped off the wax, leaving on just the right amount for that antique look. I find this technique so quick and easy and the perfect way to give it that worn look that I love!
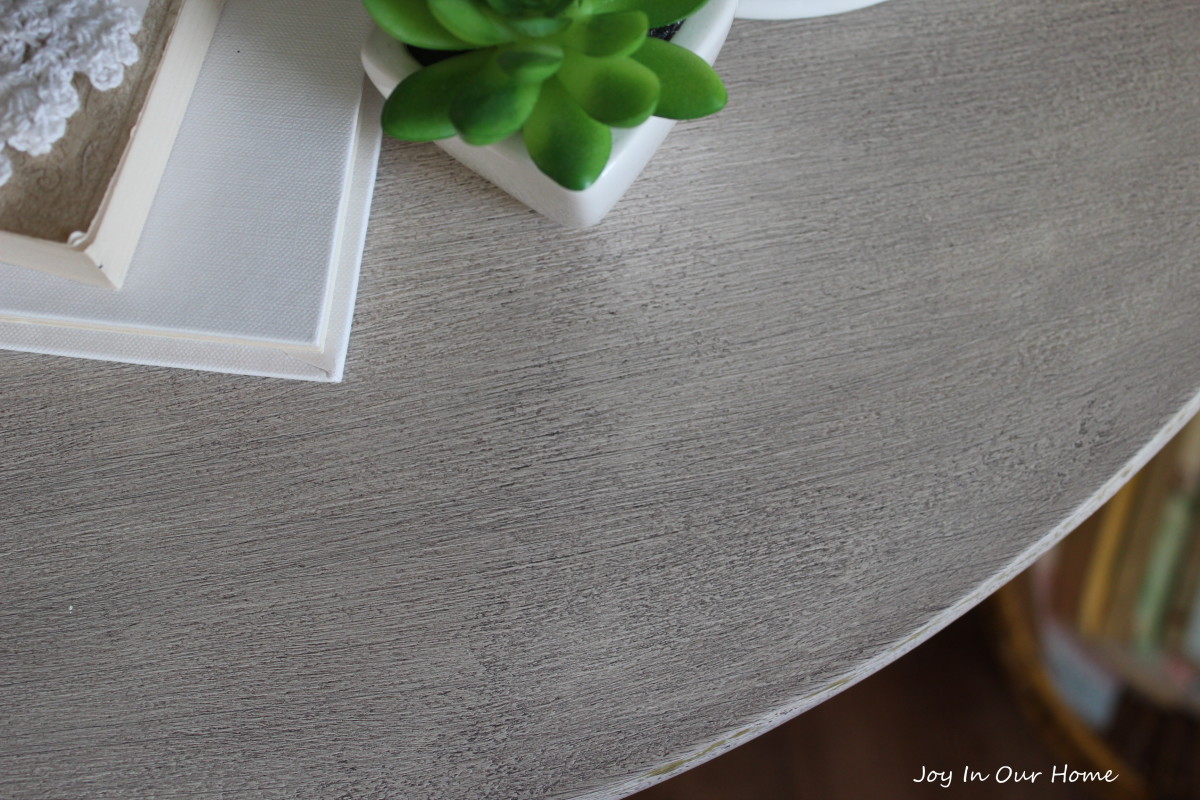
I love the texture that the grittier sandpaper gave this table. Once it was completely dry I gave it a coat of Tough Coat which helps protect the surface. You just never know what I might set on it when my hands are full, coming into the house! Tough Coat protects it soo well!
I’m so happy the way this table turned out! Originally I was going to sell it once I gave it a makeover, but I think it’s found a home by our garage entry way!
Have you done any furniture makeovers lately? Please leave me a comment below and I’d love to check them out!
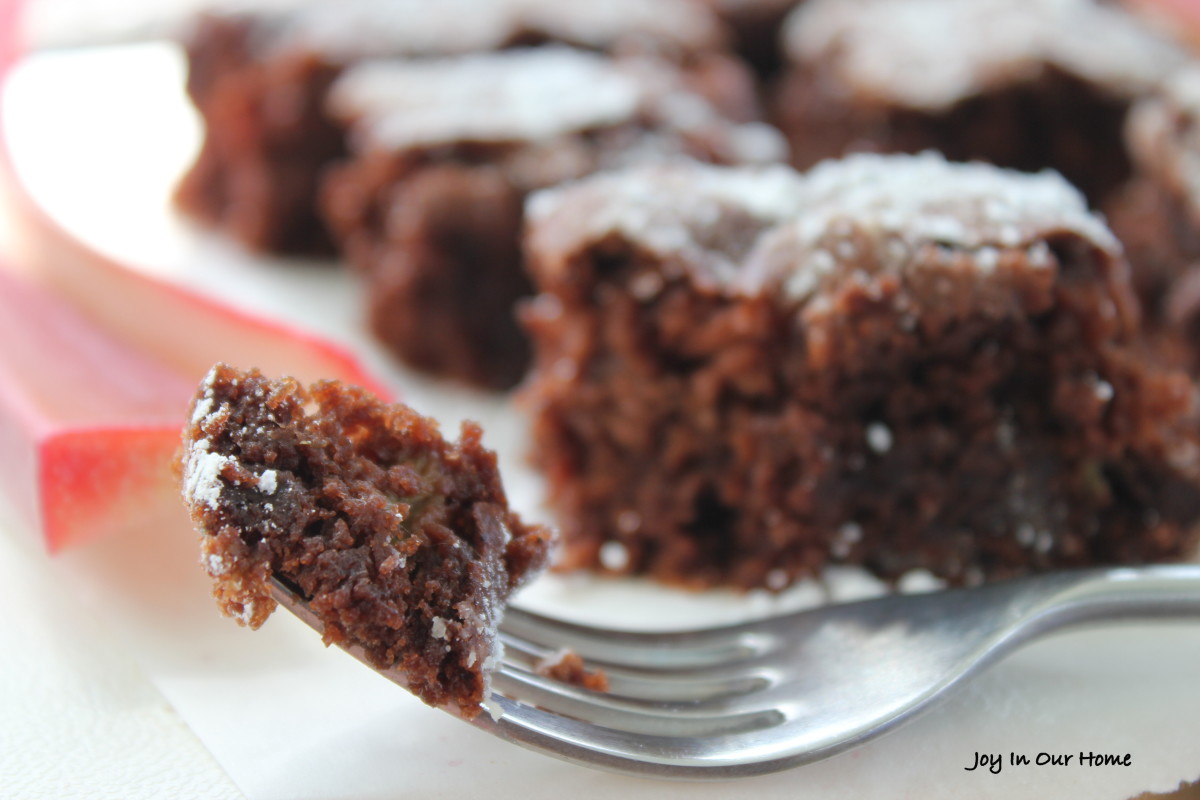
Also, be sure to come back Thursday because I have a deeeelious dessert I’ll be sharing! I was really thinking these Chocolate Rhubarb Brownies were the cream of the crop dessert but seriously, you have to see the one I’ll be sharing soon!
Thanks for coming by today! And if you’d like, I’d love for you to foll0w along on Instagram and Facebook to keep up with all that’s happening on the blog! I love pinning all sorts of inspiration over on Pinterest too! Come say hello over there!
-Kendra


LOVE the way that antiquing powder transformed the white! It’s gorgeous Kendra! Here’s hoping the next couple of weeks fly by for you all!!!
Thanks so much, Kristi! Glad you like it! Thanks for counting down the days with me… can’t wait to sleep in! haha! Thanks for stopping by friend!
I’ve been known to lunge toward certain decor items too! It’s like I’m afraid someone will beat me to it. Lol! Your project turned out great! I’ve heard wonderful things about that paint. Good to know it works so well. 🙂
Glad I’m not the only one, Lisa! Lol! Always appreciate your comments! xo
LOVE this, Kendra! The color is beautiful! Featuring you tomorrow night at Dream. Create. Inspire. Link!
Thank you so much, Samantha! Appreciate the feature so much! xo