In just three short days, the calendar turns to December and if you’re looking for some DIY décor to decorate your home for the holidays, you’ve come to the right place!
I was so excited when my friend Jen from Noting Grace invited me to this blog hop! If you don’t already follow Jen, be sure to check out her blog… not only is she incredibly sweet, but I adore her simple farmhouse style!
If you’re visiting me from Kelly at The Tattered Pew, welcome! Isn’t her advent calendar the sweetest? I feel so honoured to be joining so many talented ladies! You’ll see so much Christmasy DIYs and inspiration today and the cherry on top is an amazing $150 Amazon giveaway to help you do some Christmas shopping! Don’t forget to enter at the bottom of this post!
If you’re on Instagram and you love home décor (I’m guessing you do since you’re visiting my blog 🙂 you’ve probably seen Christmas décor galore. And, if you’re like me, you click on the photo and see the sources and wish you could go straight to the store to get that certain sign, greenery or whatever it is. And if you’re like me again, your budget doesn’t allow going out and buying all new décor every.single.year. And you know what, friends, I’m completely okay with that.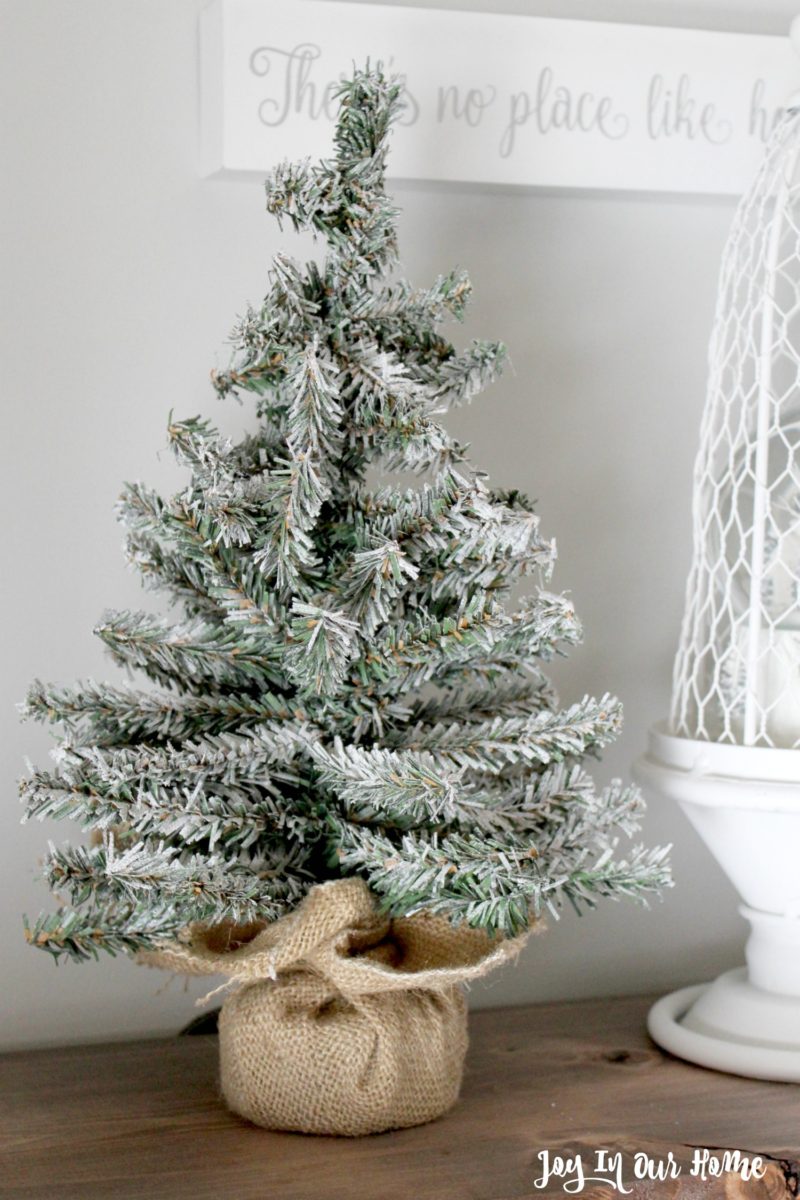
For myself, there’s something satisfying when I use what I have and maybe give it a little update with paint or some other creative way.
I’d love to show you a couple diys I did this week by using what I had and fitting into our farmhouse style décor.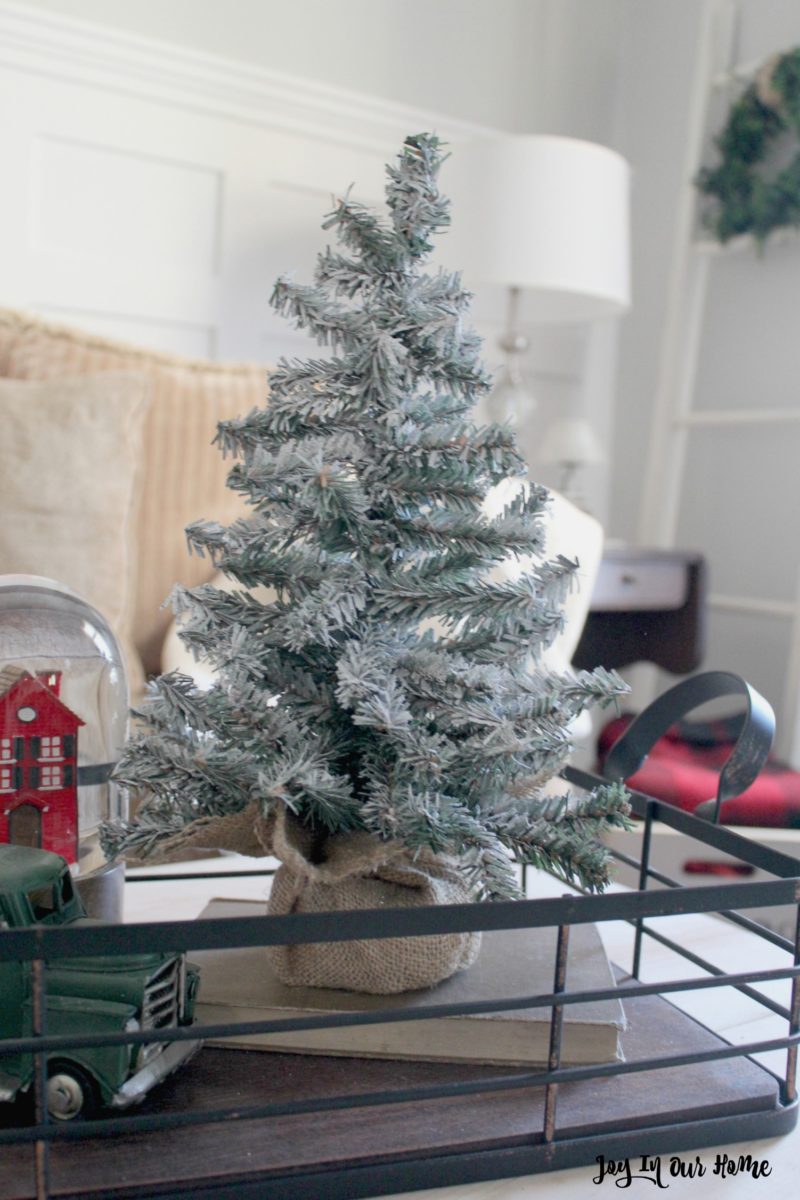
Last year after Christmas I saw these adorable little trees on clearance for 44cents. They were wrapped with this pretty red velvet fabric and I couldn’t leave them. Would you call me crazy if I told you I put a dozen of them in our cart? I think my husband thought I had gone of the deep end when I kept piling them in, one after another.
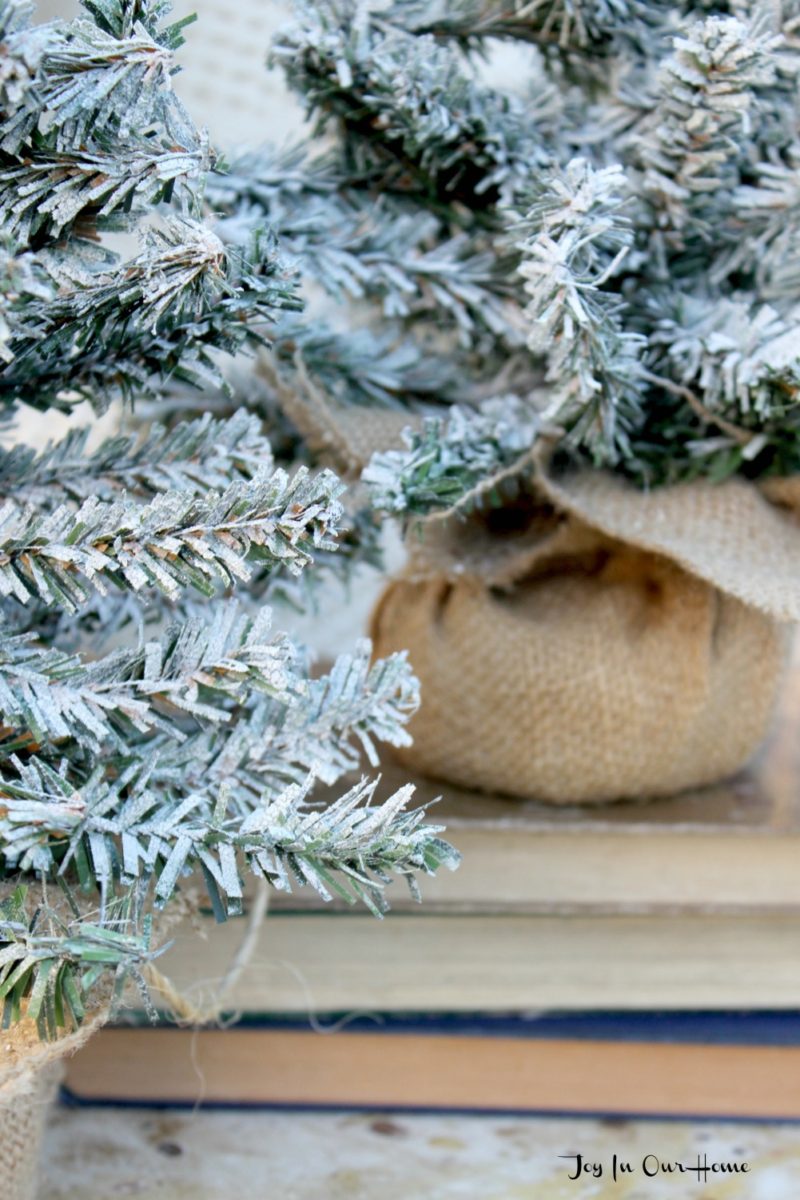
And now I’m awfully glad I did because after adding some “fake snow” I think these lil’ trees are so darn cute!! If you’d like to make your own, it’s super easy and here’s what I used:
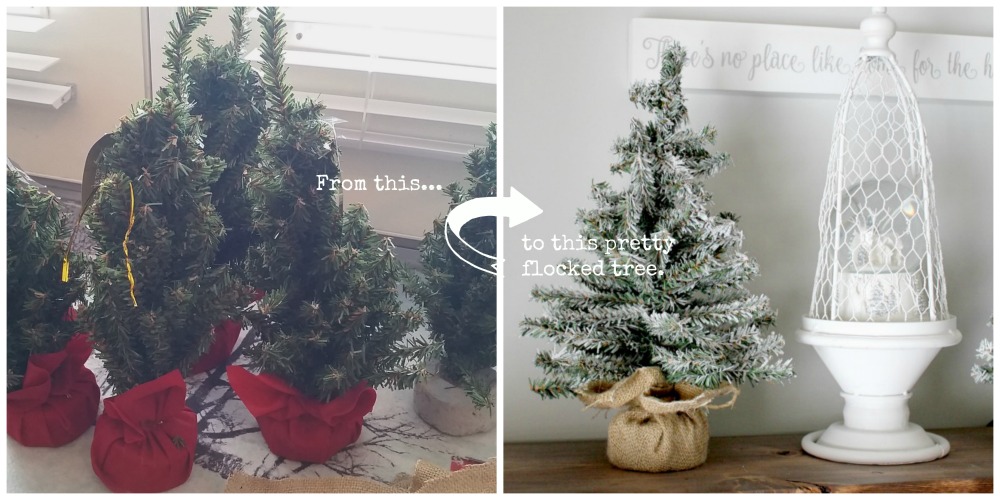 “Flocking” the tree was super easy and quick. I did it inside because it was stormy and cold outside and just set the tree inside a cardboard box and using the directions on the can, I gave the trees a couple of coats. I removed the red velvet fabric and used that piece as a pattern for the burlap. After cutting it out, use a piece of twine and tie it around the “trunk” of the tree and was done. I could seriously set these little trees on every shelf, fireplace and ledge in our home!
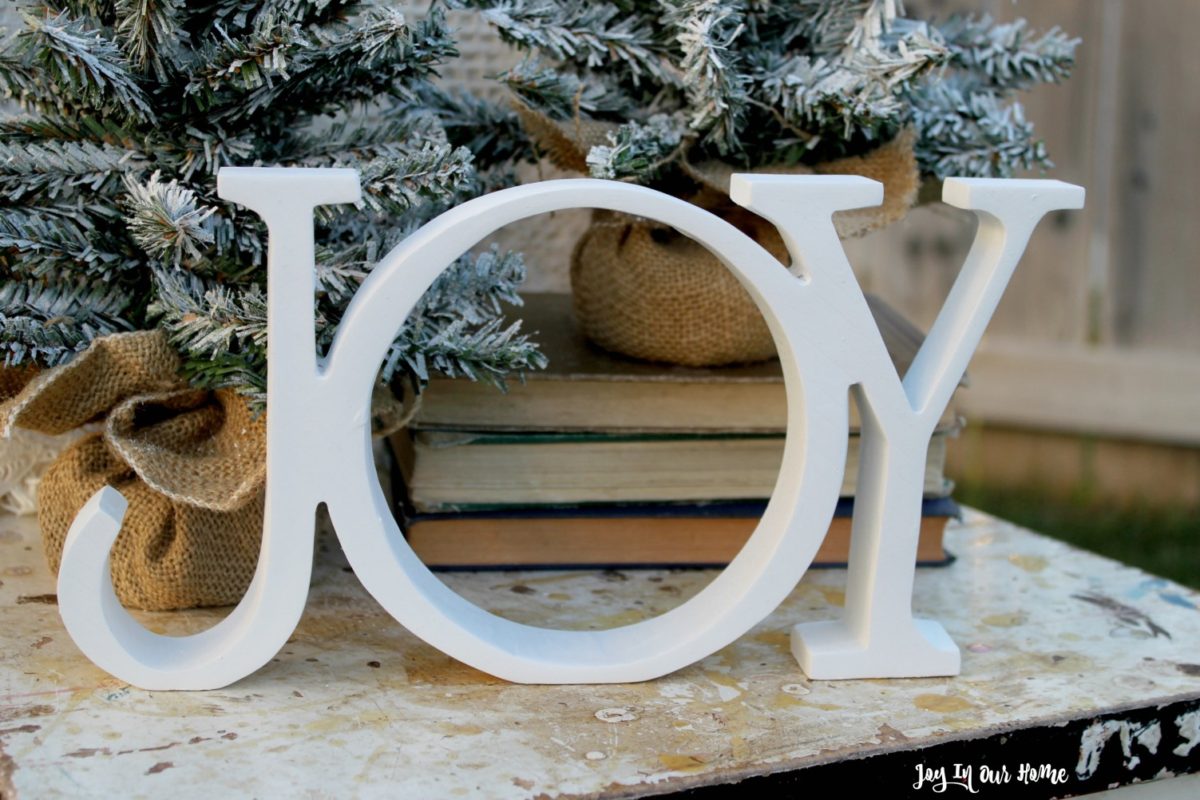
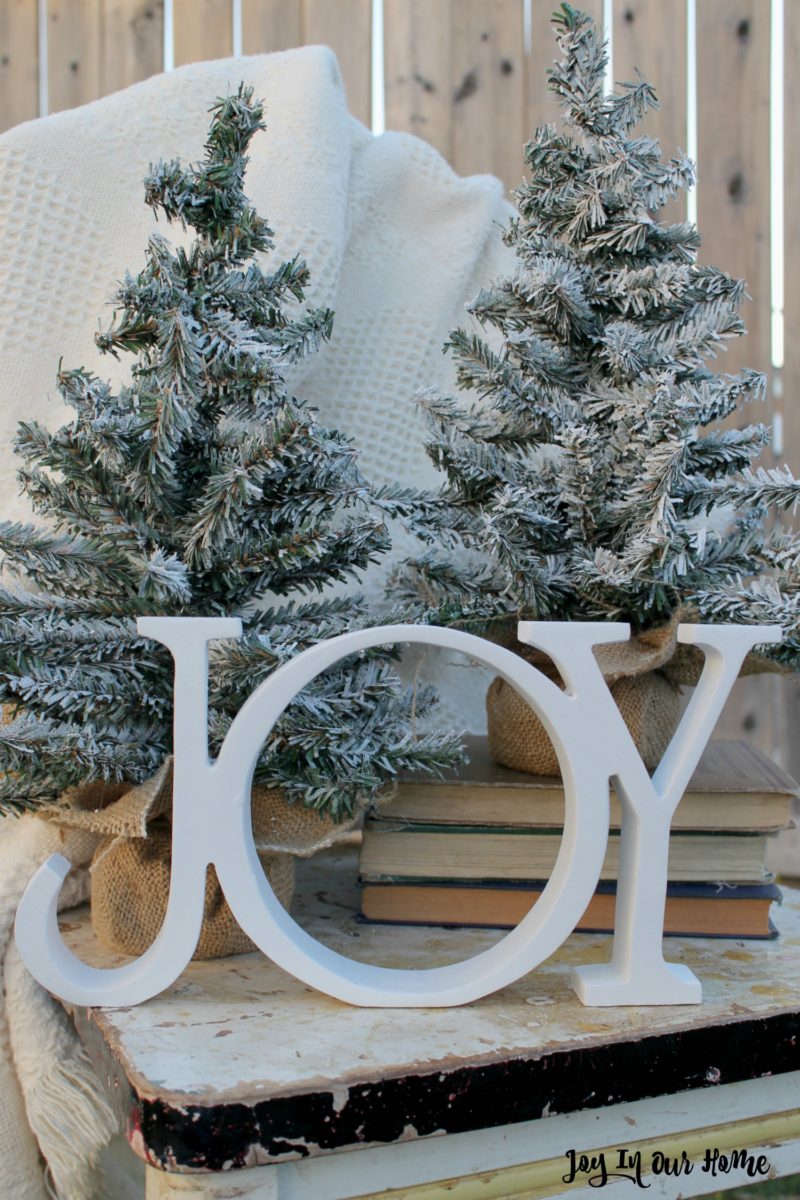 I also had this Joy sign that my sister gave me years ago as a gift at Christmas. I tried to sell it at our yard sale and it never sold and part of me was glad because I still liked it. This year when I pulled it out I asked my husband to cut off the little Holly Hobbie figure and I spray painted it white! The power of spray paint never ceases to amaze me… and I love it now! Here’s how it looked before…
 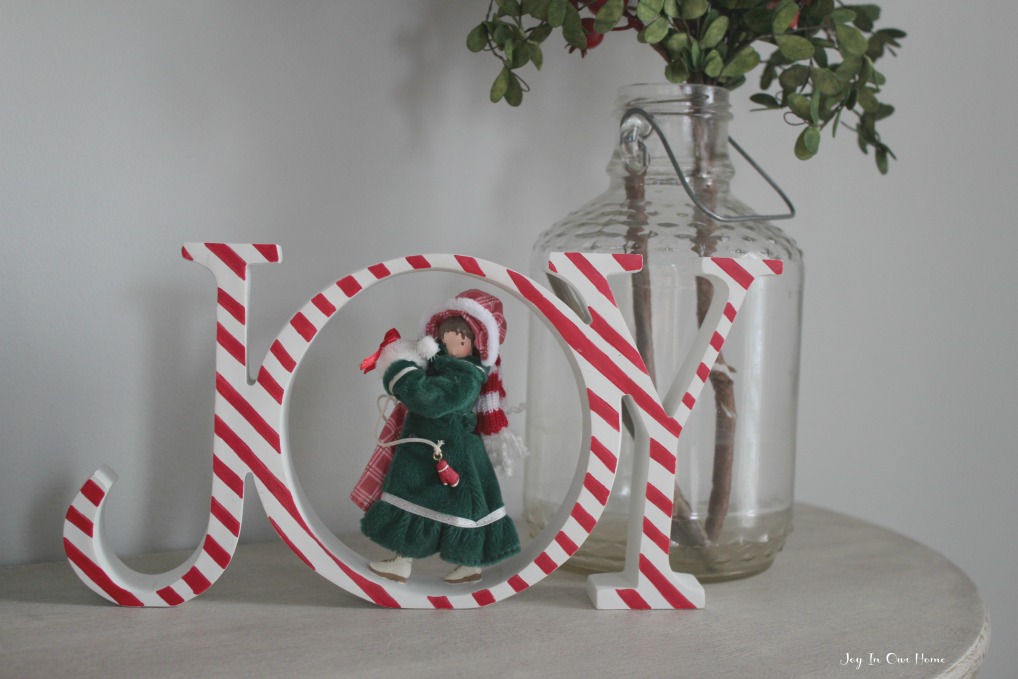 The word “joy” has always had a special meaning to me and I remind myself daily to “choose joy”. This sign is perfect for our holiday décor and so glad it never sold when I was trying to get rid of it!
Next stop on the tour is Junque Cottage…. Laura has some beautiful ideas of how to decorate for the holidays on a budget! Right up my alley!
And here’s 13 more beautiful DIYs that’ll be sure to bring a festive touch to your home! I seriously want to try so many of them!

Thrifty and Chic | Cuter Tudor | Mint Candy Designs | The Homemaking Momma

Noting Grace | A Blue Nest | The Tattered Pew | Joy In Our Home
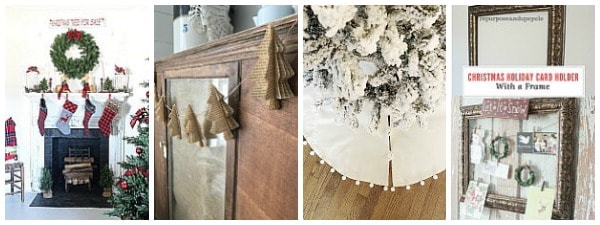
Junque Cottage | Little By Little Farmhouse | My 100 Year Old Home | Repurpose and Upcycle
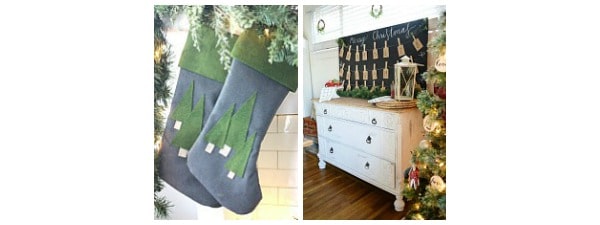
Pennies From Heaven Home | Uniquely Taylor Made
And before you go, be sure to enter our giveaway… I’d love for one of my readers to win!! Thanks for stopping by today, friends!


Kendra – this makes my budget loving heart happy! I am all about repurposing what we have and I love this idea so much! Thanks for being a part of this blog hop with me!
I’m right with you on repurposing all things, Jen!! xo Thank you so much for coming by and hosting this fun blog hop!
Its amazing what a difference that makes! The trees look fabulous!
Thank you, Jordan! So glad you stopped by! xo
So glad we could do this hop together! That joy sign is the cutest!
Thank you, Bree! So glad to be on this tour with you too! xo
Ok I am loving how you transformed all of your outdated decor! So simple and so cheap! Thanks for the tips!
Thanks so much, Kelly! So glad you stopped by!
I was just thinking about doing this to our small trees this year! You have inspired me to do it for sure. These turned out amazing!
So glad I inspired you, Alicia! Such a quick way to flock trees! Thank you for coming by!
Such a cute idea! And I love budget friendly! ❤️
Thank you so much, Leigh! Glad you stopped by! xo
I love these! And now I will be busy flocking all my small trees! Thanks so much for sharing!
Thank you, Laura! It’s one of the easy updates ever! Especially with all the rage about flocked trees! Thanks for stopping by!
Adorable. I love how updated your joy sign looks. I’m glad it didn’t sell.
Thank you, Katie! So glad that sign didn’t sell either! Thanks for stopping by!
Way to go, Kendra! I’m considering painting a bunch of ornaments pink. Just have to have the time. 🙂
Thanks, Stacey! The power of paint never ceases to amaze me! Hope you’ve found time to paint yours 😉
So pretty, I’ve wondered for awhile how well – and easy the flocking products would be to use. Thanks for sharing!
Thanks, Tammy! The flocking was easy to use and only took minutes. Glad you stopped by!
Well done!! You did a great job updating those pieces to make them look so current–and really pretty! I’ve wrapped little trees in burlap before, but have never thought to flock them. Brilliant!
Thanks so much for joining the Grace at Home party at Imparting Grace. I’m featuring you this week!
Thank you so much, Richella! I appreciate the feature and so glad you stopped by! xo