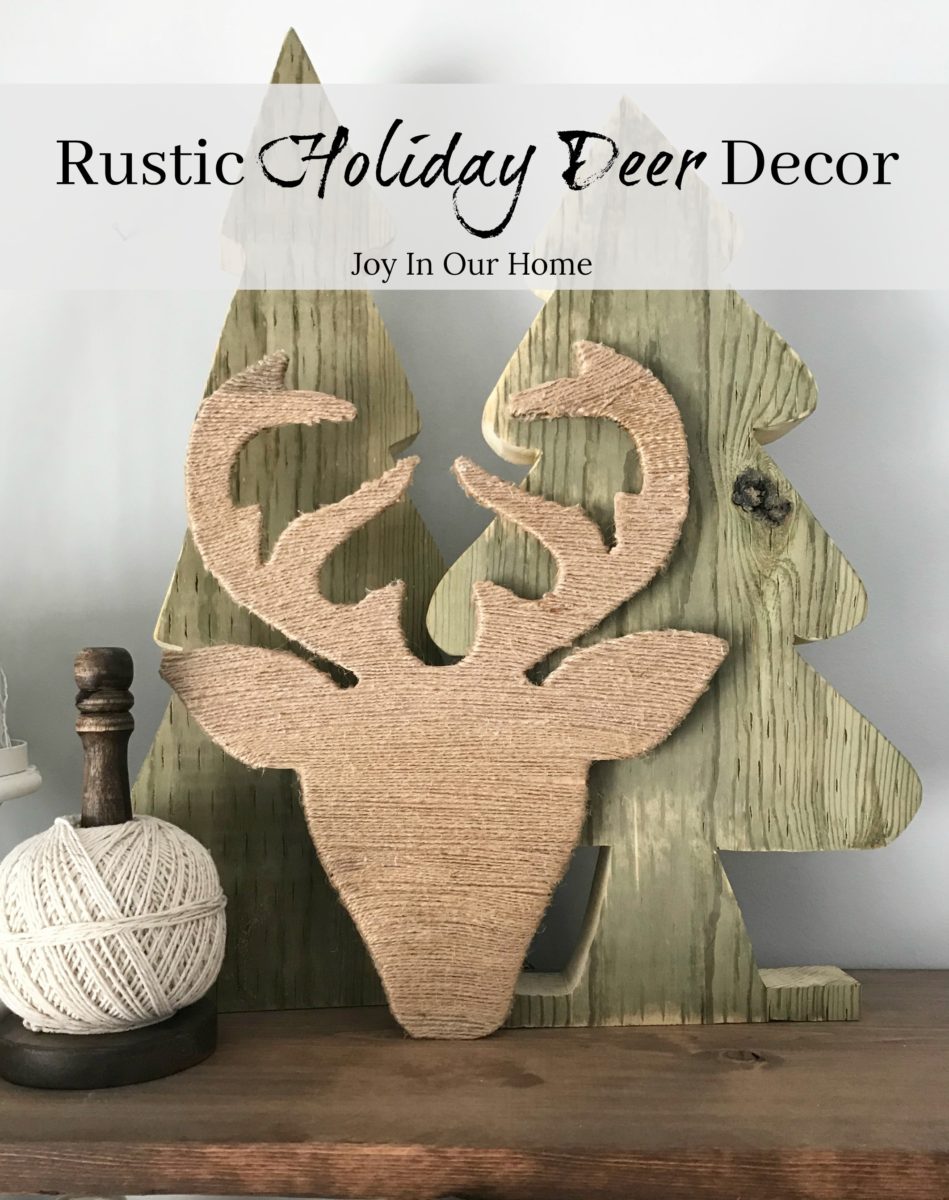
Add a touch of rustic to your home this season with this Holiday Deer!
 Is it feeling wintery in your neck of the woods yet? Last week was so cold (my southern friends probably can’t imagine this but we’re sporting all our winter gear already) No mistaking it, winter’s arrived!
This post contains affiliate links. Please note, if you buy anything through the links, you never ever pay a penny more! You’re just helping support my little blog 🙂 For my full disclosure, click here.
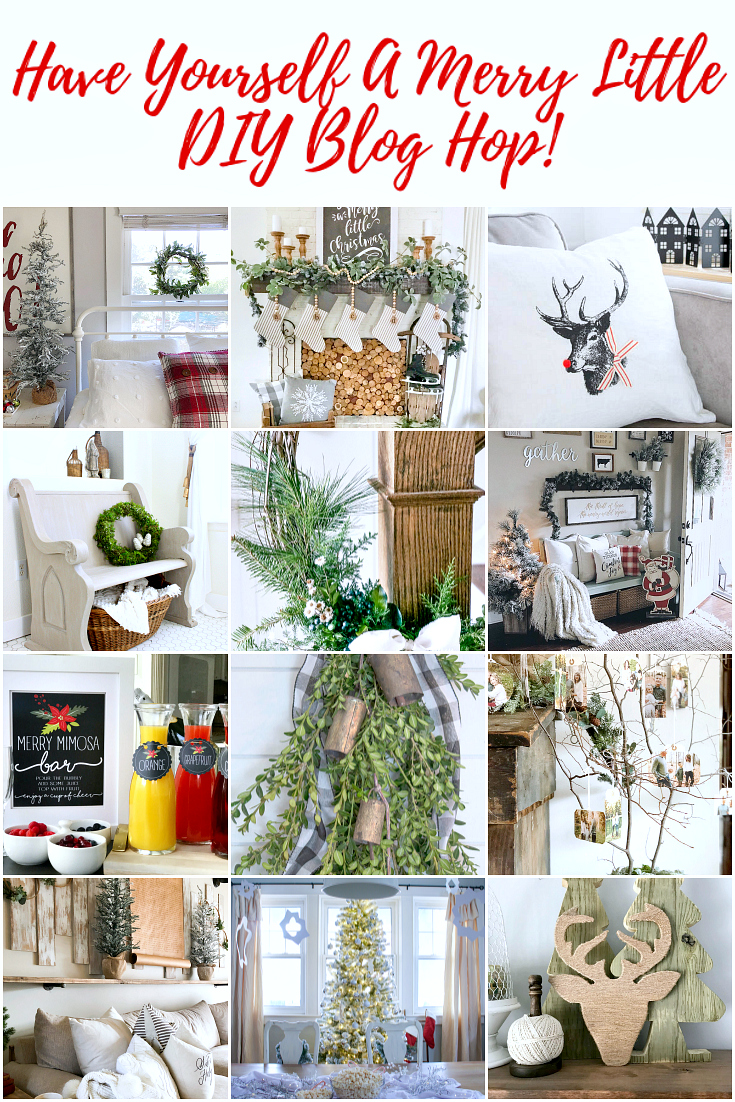
And so has the holiday season! I’m so excited to be joining some of my talented blogging friends in Have Yourself a Merry Little DIY blog hop hosted by my sweet friend Kelly from The Tattered Pew!
If you’re stopping by from Roxanne at The Honeycomb Home, welcome! Her boxwood wreath is perfect for the holidays and would be so fun to make!
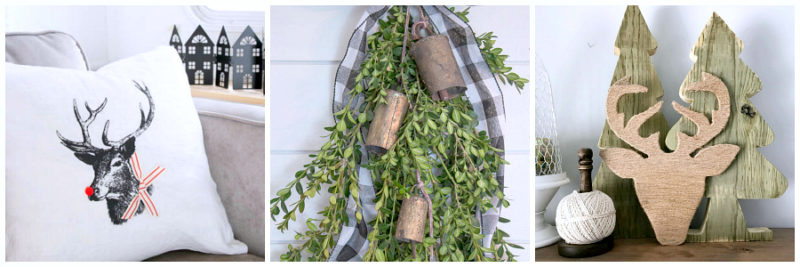
I’m sharing a Rustic Holiday Deer decor that I finished this week and I think he’s my new favorite piece! He adds just the right bit of rustic to our farmhouse home. Although a little time consuming, it’s still very easy to make!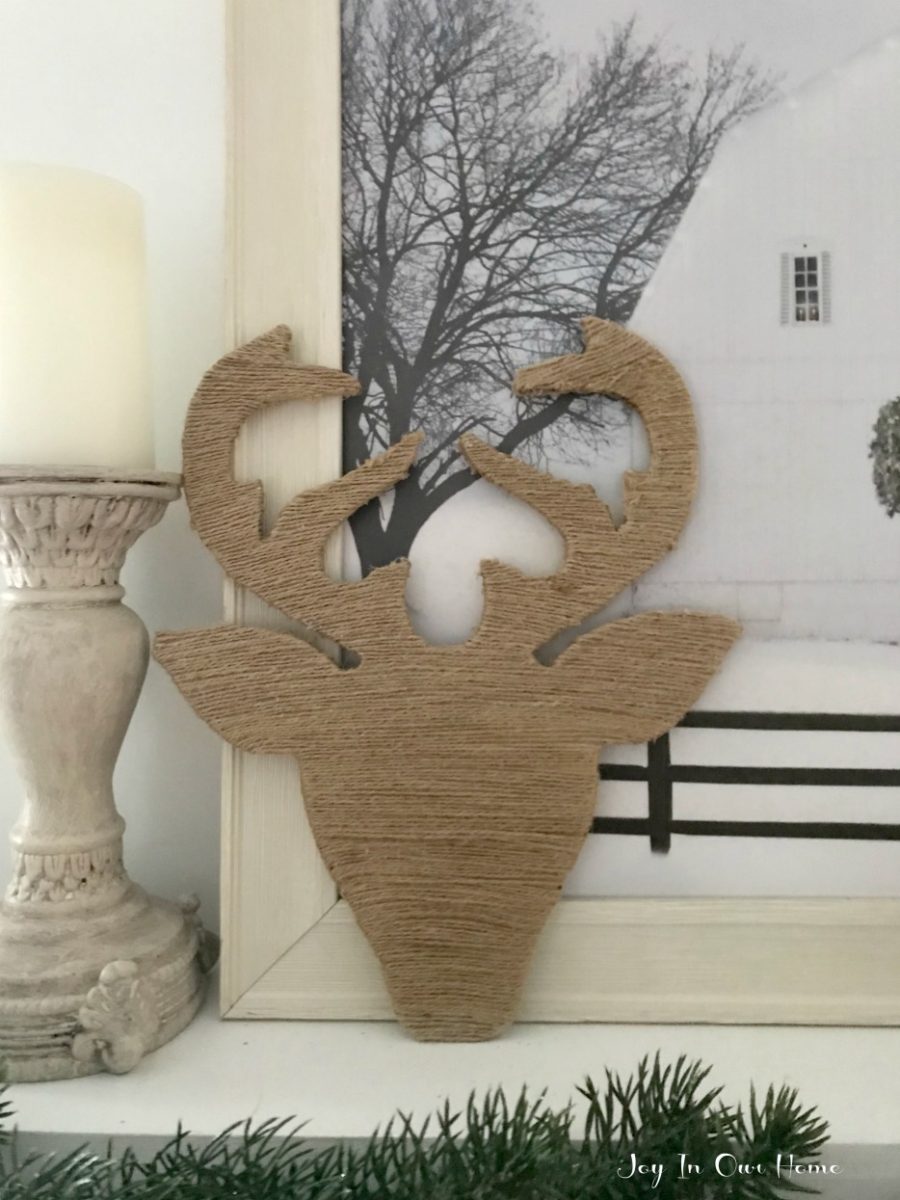
Here’s what you’ll need:
- glue gun and glue sticks
- jute twine (or get two for an even better deal)
- deer head (not exact but similar to mine)
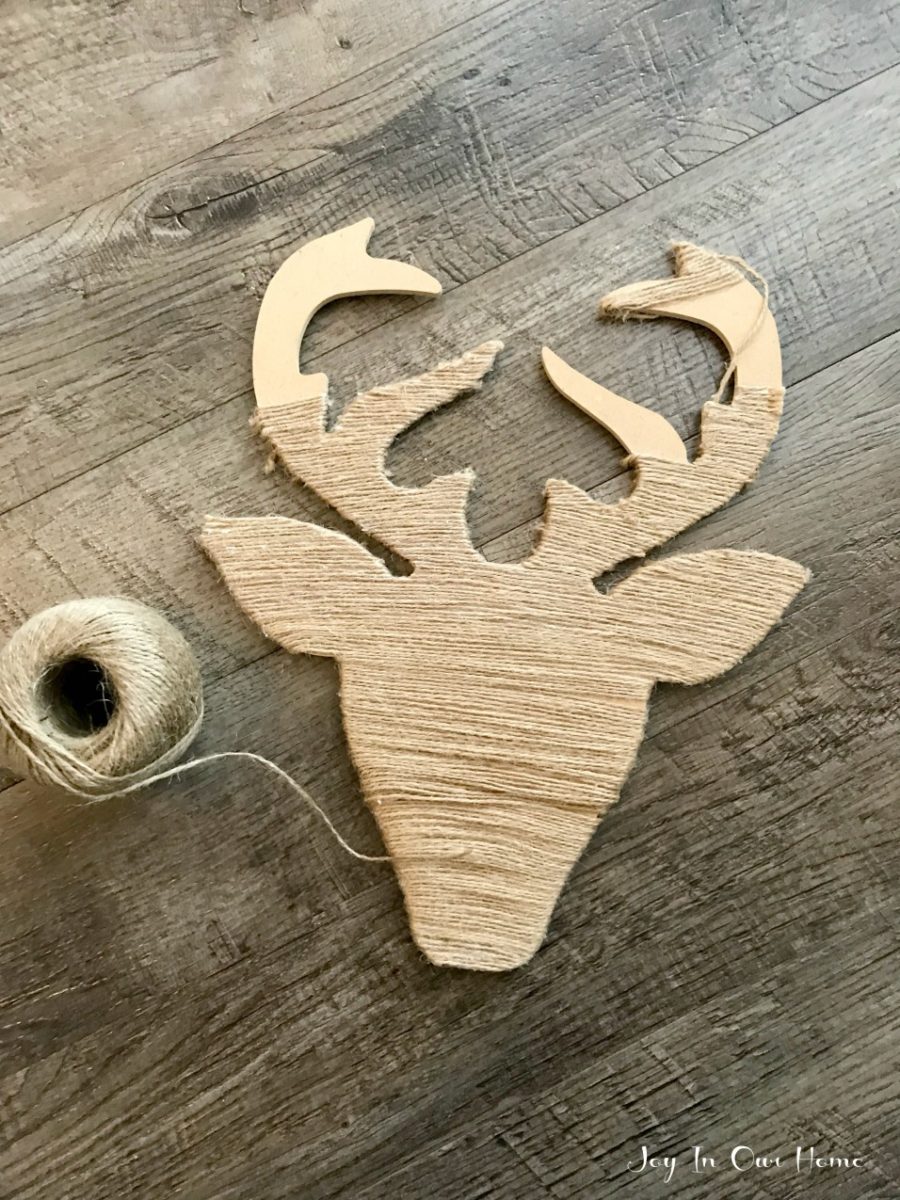 I started at the nose since it’s a fairly straight area with no curves. Using the glue gun, glue the beginning piece of jute and then start wrapping around the very bottom part of the nose. Once you bring it to the back of the deer, secure it with glue. I kept going all the way around including his ears. Once I reached the top of his face I cut the jute twine and was ready to start on the first antler.
I actually didn’t wrap the twine all the way around the antlers. You could if you wanted to but I just applied a strip of glue to the front, laid down the jute, cut the other end and then secured both ends to the back with glue. It just seemed to go quicker and I had more control over the pieces as they didn’t move on me. 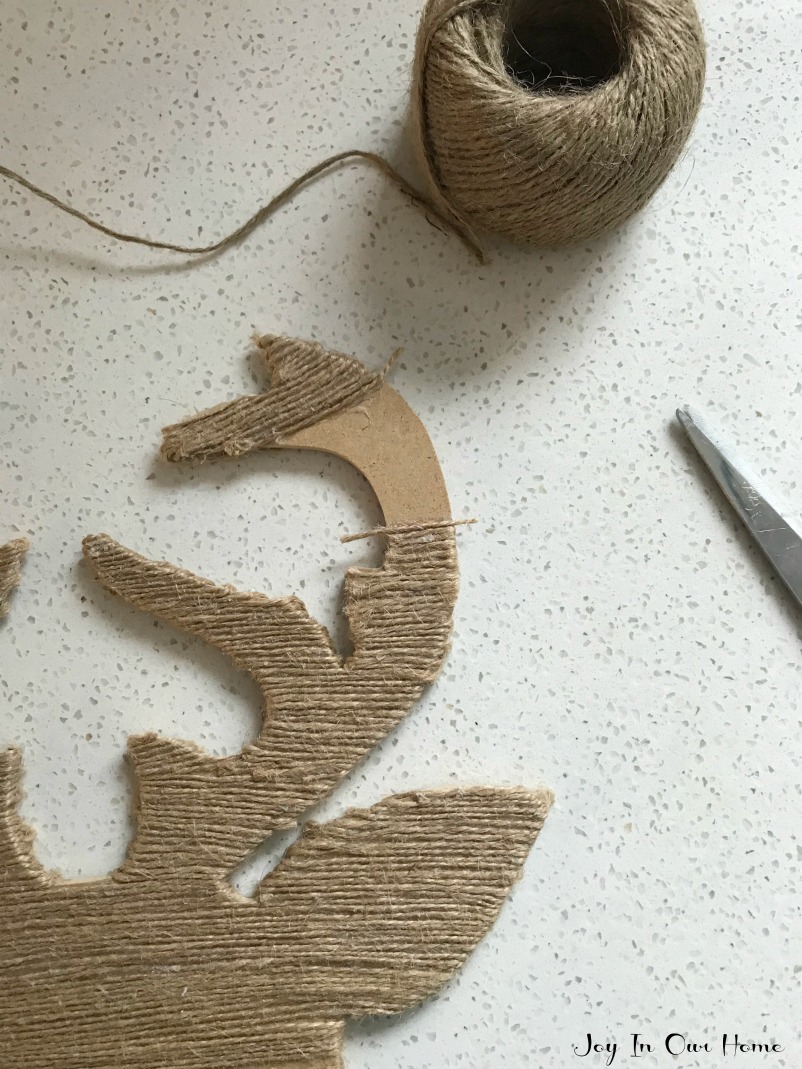
For a project like this, hot glue really is magic. It can secure all those loose strands and hold everything securely in place!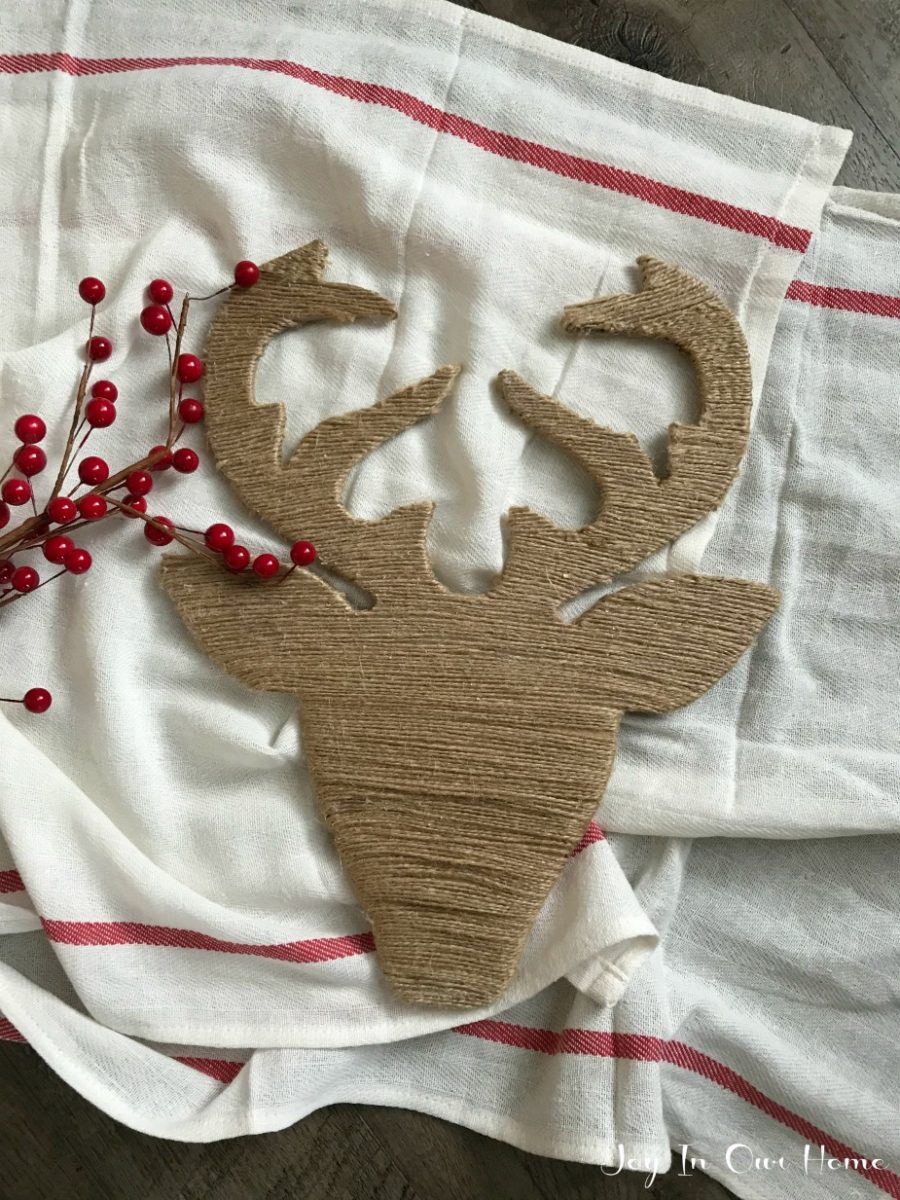
Next, be sure to head over to Brendt from She Gave It A Go and check out her beautiful holiday gallery wall! I’ve always wanted to do one and maybe this is the year! And of course, take a peek at all the other beautiful holiday DIY’s down below! You’re sure to be inspired with all kinds of different ideas!

Wednesday
Aratari At Home // The Tattered Pew // My 100 Year Old Home
Crisp Collective // Bless This Nest // Adored House
Thursday
Seeking Lavender Lane // The Honeycomb Home // Joy In Our Home
She Gave It A Go // Grace In My Space // Little Nest of Four
Just wondering if anything caught your eye, and you’re thinking of making this holiday season? I’d love to hear in the comments below!
Thanks for stopping by, friends and enjoy the rest of your week!


Kendra, this is so cute my friend! I love what you shared and it is a true honor being on this blog hop with you! xoxo-Brendt
Thank you, Brendt! And I’m equally honoured to be on this blog hop with you! Enjoy the rest of the week! xo
I love this project! I love how natural it is and would blend with any decor!
Thank you, Lindsay! So glad you stopped by; loved doing this blog hop with you!
I love this little guy! So cute and creative Kendra. And since you asked about wintery weather in our neck of the woods…….we are supposed to get about 8 inches of snow today 🙁 Not happy my friend!!!!!
Thanks so much, friend! Glad you like it 🙂 And wow, that’s quite the snowfall! Wish we could sip hot chocolate and enjoy a Hallmark together!
This is so sweet! I love how you made it timeless to use each year!
Thank you, Sarah! I love timeless pieces! So glad you stopped by! xo
I love this it’s just such a cute and fun Christmas diy! Thanks for joining me on this hop!
Thank you, Kelly! And thanks for having me.. so much beautiful inspiration! xo