Hope your week is going wonderful! Today is back to school and work for us after our 4 day Thanksgiving break. Today, I finally want to share our fireplace makeover with you! The reason I say finally, is because we did it waaay back in August but there was a couple tiny little things that needed finishing but it’s all done now… just in time for some cozy nights around the fire!
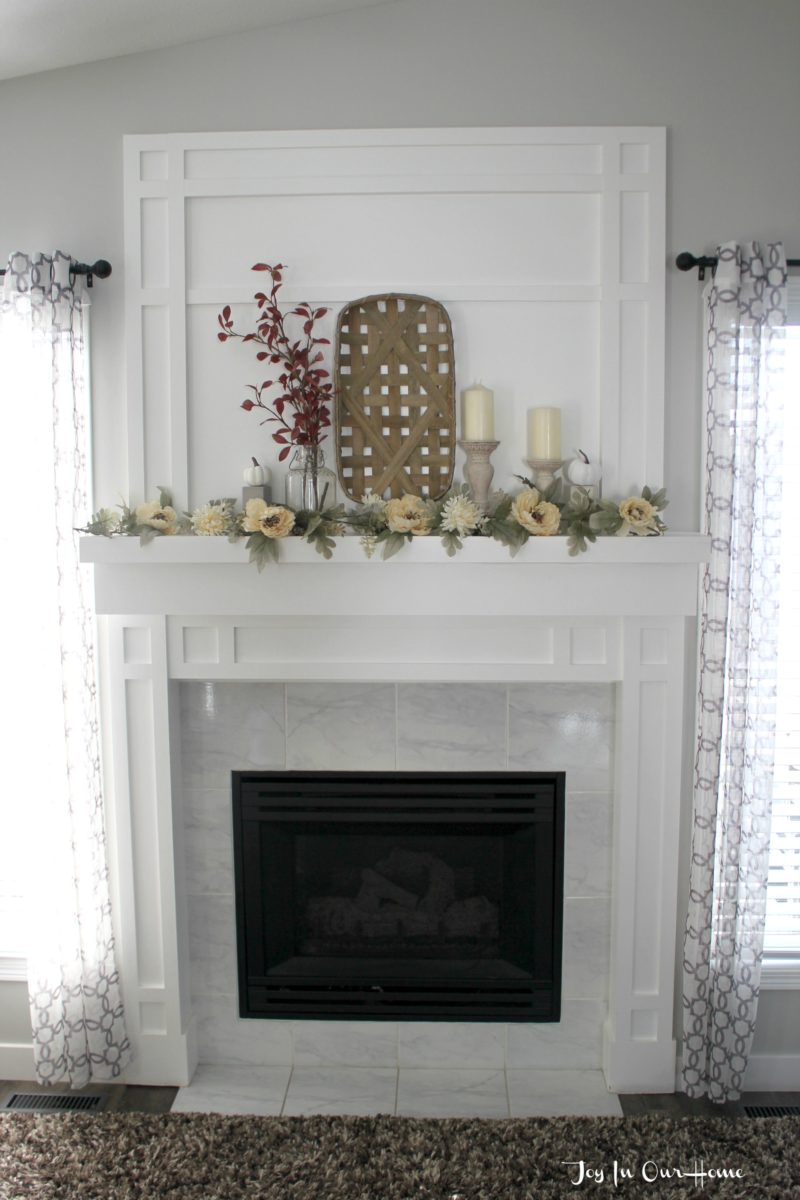
The before and after pictures of this makeover are day and night different! Combined with our Hardwood Floors that we refinished, our living room looks totally different!
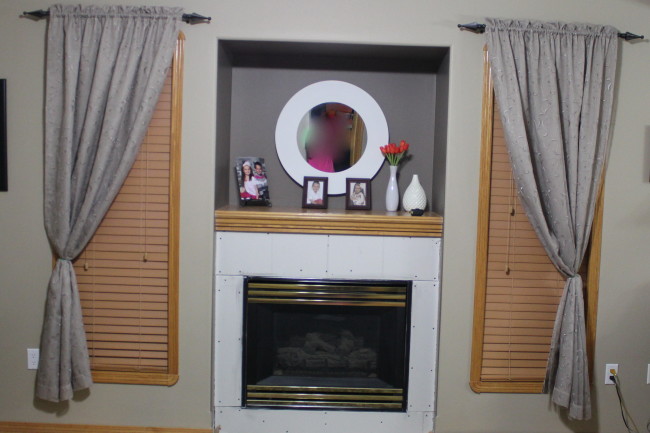
Here’s what it looked like before:
The renovations had already begun in the picture above. My husband had removed the tiles but other than that this is what it looked like when we moved into our home. Our goal was to get rid of the deep mantle. I’ll share with you how my husband went about this. I won’t give exact measurements as every fireplace and area that you have to work with is different.
We had drawn out a complete plan of how we wanted our new fireplace and mantle to look and at the very last minute before renos began, my husband decided to check building codes and good thing we did! There was some things we had to change like the “pillars” on either side of the fireplace. So be sure to check your local building codes to see if there’s anything regulations you must follow!
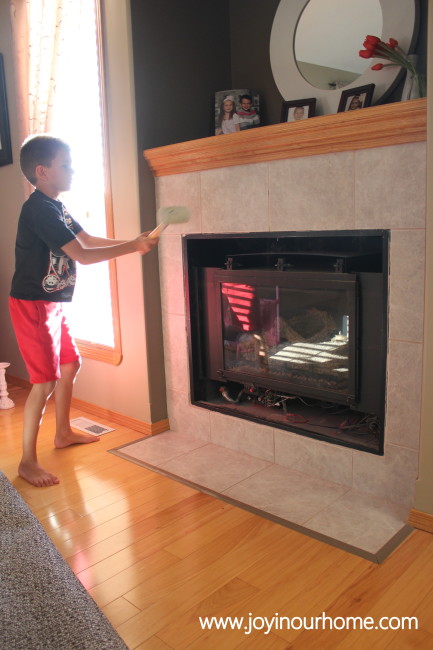
Smashing the old tile was the fun(est) part, according to our little guy! He gladly took over from Daddy when he saw that he could have free reign with the mallet! Some of the tiles were cracked and the grout was all peeling so this was the perfect time to change the tiles.
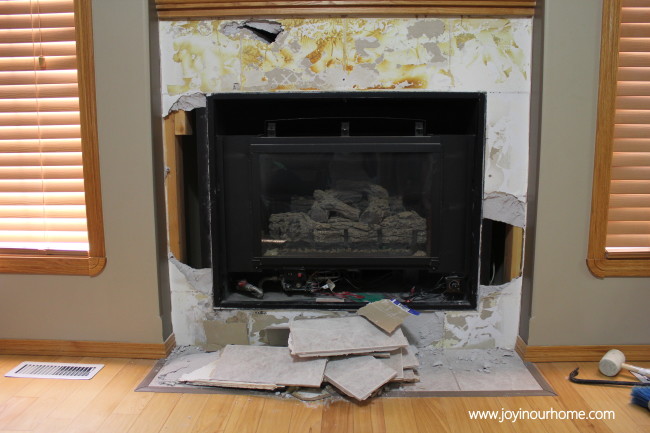
Once my husband and his little helper removed all the tile, they discovered that some of the drywall behind the tile had been wet and was moldy. We weren’t initially going to remove all the drywall, but decided just to be on the safe side, we’d get rid of it all and replace it.
All the old drywall is removed and ready for the new drywall!
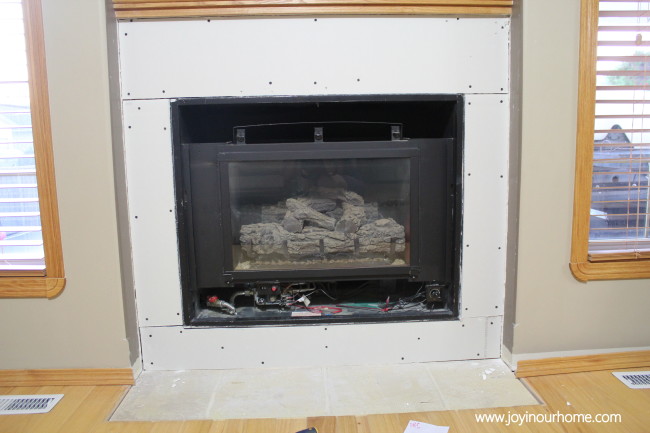
New drywall installed…
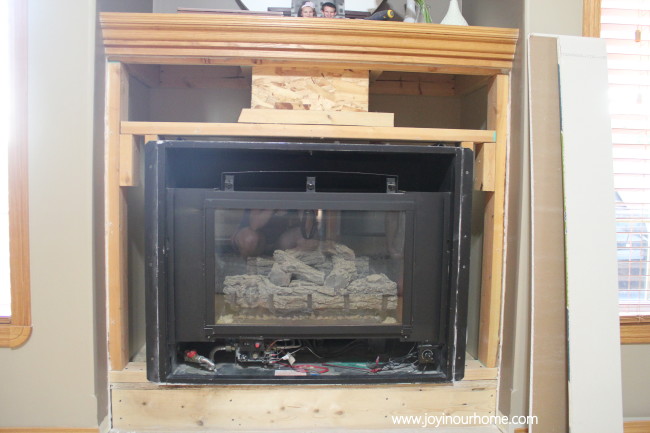
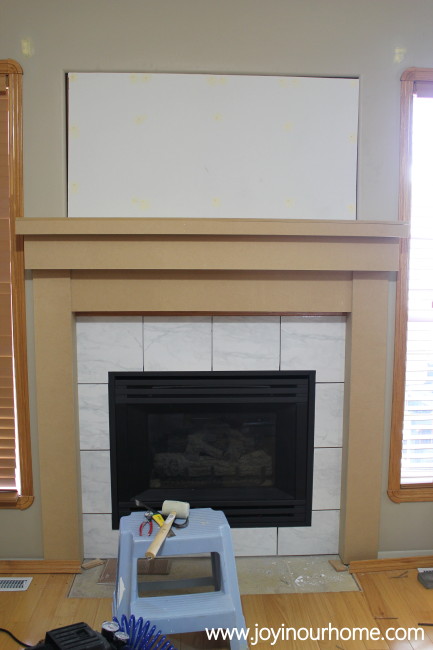
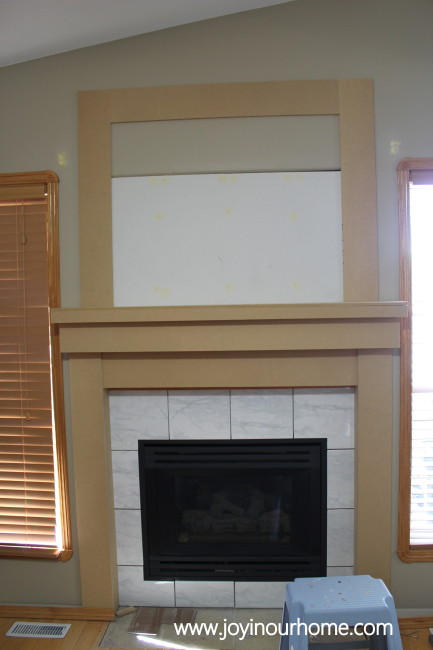
This picture shows the mantle and pillars almost complete. They don’t have any of the trim on them yet, at this point. We used a piece of drywall to cover up the deep mantle! It’s gone… yay!!!!
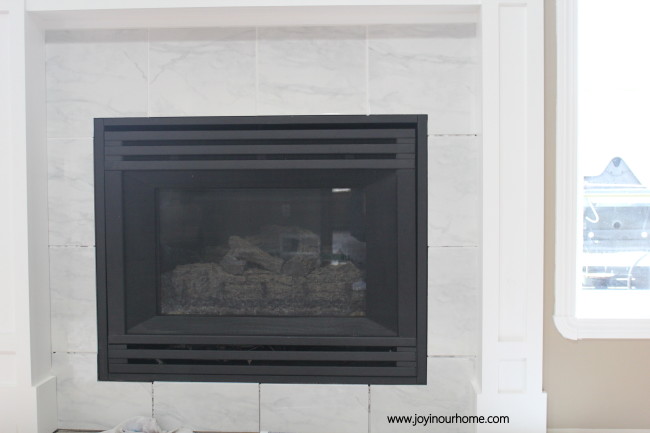
I love the beautiful new tile from Home Depot! It looks so crisp and clean against the black fireplace. If you want to check out how we easily and affordably we updated our fireplace, check out this post. It made such a huge difference! We used MDF wood from Home Depot to make the pillars, mantel and to make the frame above the fireplace. Like I mentioned before, I don’t have exact measurements for the pillars because every space you have to work with, will be different.
All that was left in this picture was the grouting! Which is such a small job, compared to this big project! All the trim and baseboards in our home are lovely oak and we’ve been wanting to change them to white so we started with the windows in our living room. Love how bright and fresh the white makes it all look!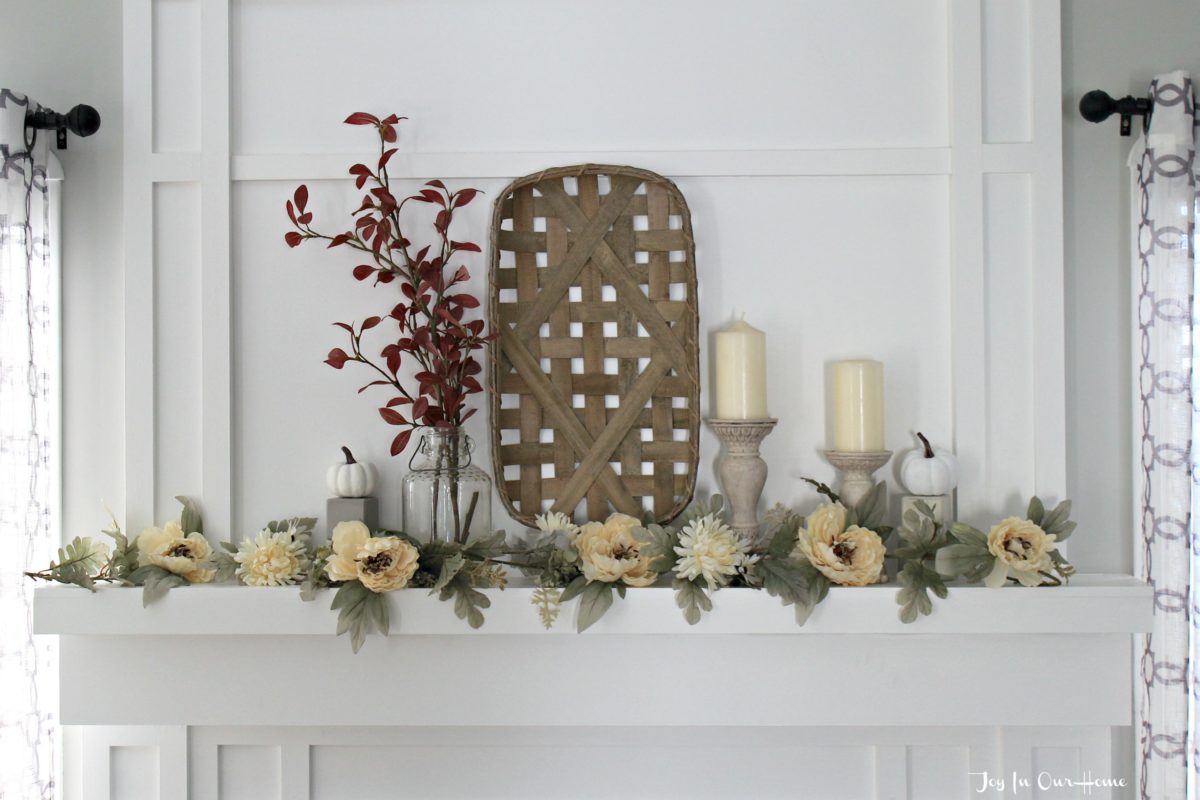
I am actually looking forward to the days getting cold and we can turn that fireplace on! One of the things I enjoy most is curling up by the fireplace with a good book or to do some blogging and it’ll be even more enjoyable and cozy now with this new view!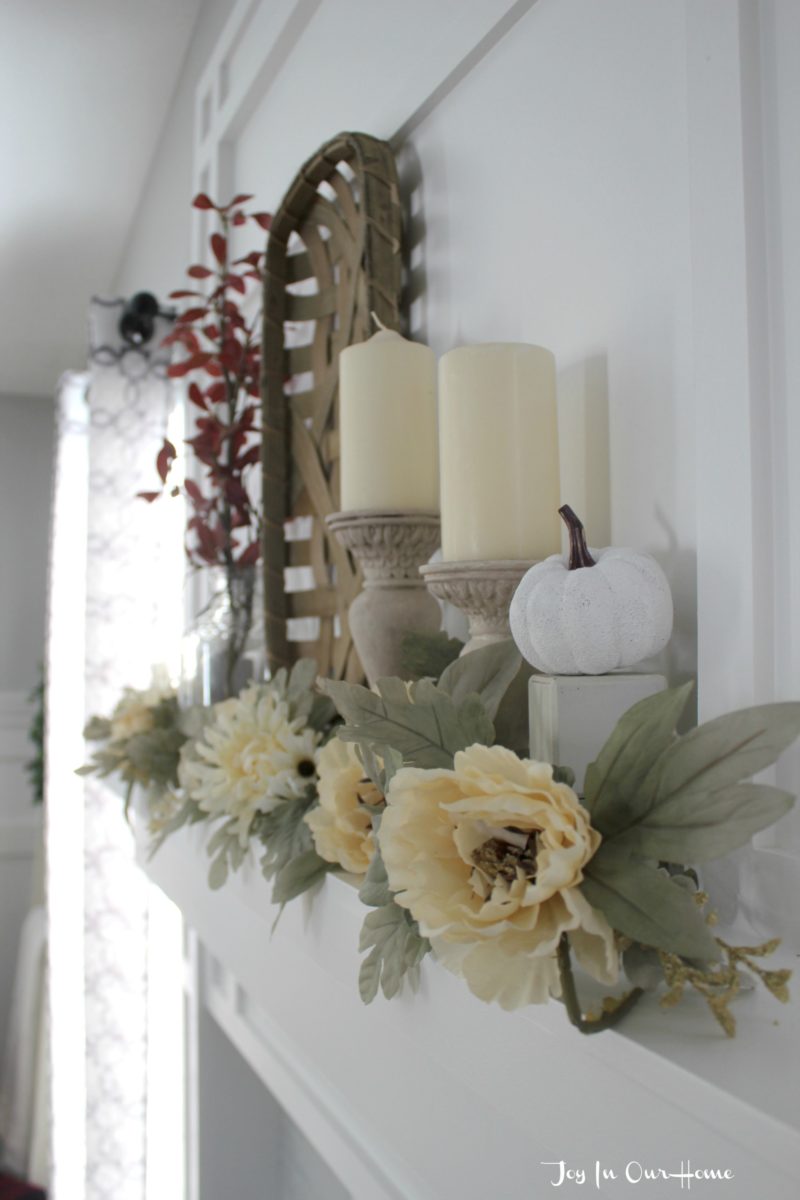
Thanks you alll for following along on our living room makeover! It’s been so fun and totally worth it! Hope y’all have a good night!


Looks great Kendra! I can’t even believe it was the same space! Love the white
Thanks so much Virgina! So fun to look at the before & afters 🙂 Always appreciate you stopping by!
Love the fireplace makeover! You guys did such a fantastic job!
Thanks a bunch Amy! 🙂
Looks GREAT Kendra! Such a big difference!! We need to cover up our silly little hole over our fireplace, too! Can’t wait to see more pics!
Thanks Amanda! I love it now too! Good luck on yours too, if you’re going to change it! It’s not as big of a job as it looks. Thanks for stopping by!
Y’all have done a great job!! I love the tile you chose. I’m loving the white trim too. I know you’re going to have so much fun decorating your new mantel for all the holidays. 🙂
Thanks so much, friend! I was happy it was done just in time for the holidays, too 😉 Thanks for stopping by!
It looks so good, Kendra! You guys did an amazing job. That tile is beautiful!
Thanks for your sweet comments Sarah! They always mean so much to me 🙂 Have a great rest of the week!
The fireplace looks awesome! Great job!!
Thank you so much Erin 🙂 Glad you stopped by!
Oh my gosh!!!! KENDRA! It’s STUNNING! I LOVE the tiles – crisp and clean is just what comes to mind and the pillars and trim work look absolutely perfect! With the windows painted out, the pretty curtains and your new floors – it all looks SO amazing!!! One of those projects that makes you smile every time you see it for months to come!!!
You always know how to make my day, Kristi! Thanks for your sweet words! You’re right… I know we’ll enjoy it for years to come, especially this winter!
Kendra it looks great!! I love the picture of your son with the sledge hammer! I am definitely pinning this for inspiration!
Thanks so much Sydney! I appreciate the pin too 🙂 Our little guy was thrilled to have that “job”. 😉 Thanks for stopping by!
Wow, this looks fantastic! Love how built-in it looks. Great work!
Thanks so much Erica! 🙂
Oh, wow! That looks great! I don’t think I’m gutsy enough to do that project myself, but you did fantastic job. Thanks for linking up to Show Me Saturday. Hope to see you there again this week!
Thanks Ginger! I could never have done it without my husband 🙂 Thanks so much for stopping by!
Wonderful transformation, Kendra! Those nooks of the 80s-90s are so tricky. Love how you handled it!
Thank you so much Lauren! I love how it looks now too 🙂 Have a great weekend!