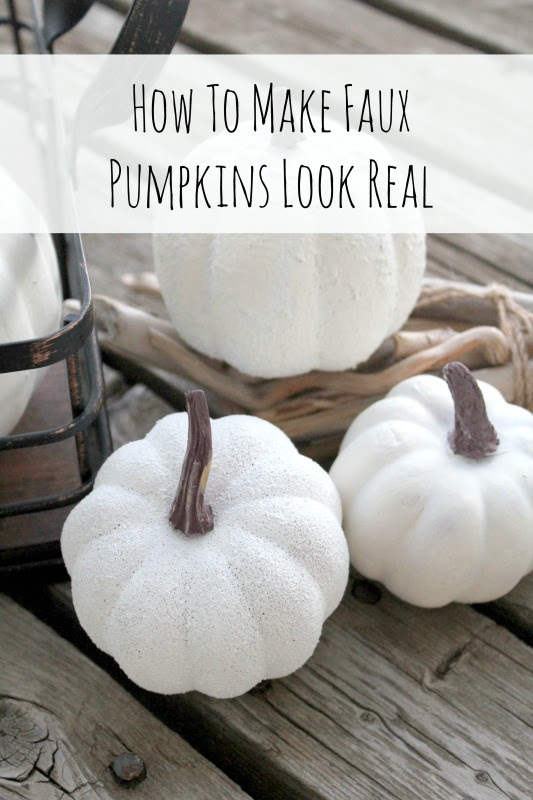
An easy and quick way to make dollar store pumpkins look like real pumpkins… with the help of some of the best DIY tools!
This post is sponsored by Home Right and contains affiliate links. For more information, read my full disclosure here.
I’m sure by now we all know the power of paint. It’s life changing, I tell ya!
I remember as a young teenager I fell in love with the color teal. My mom painted my bookcase, shelves, some of my décor and my switch plate cover teal. I thought changing all my bedroom décor to my new favorite color was the best thing ever.
Then came spray paint and it was the next best thing and soo easy to transform all those neglected and ugly thrift store and garage sale finds!
And then, last month I was introduced to THE best thing ever… in the world of DIY, that is. When we painted our front door we used our Home Right paint sprayer, and seriously friends, I’ll never use any other spray painter. Combined with the large spray shelter, it made painting our door soo, soo easy!
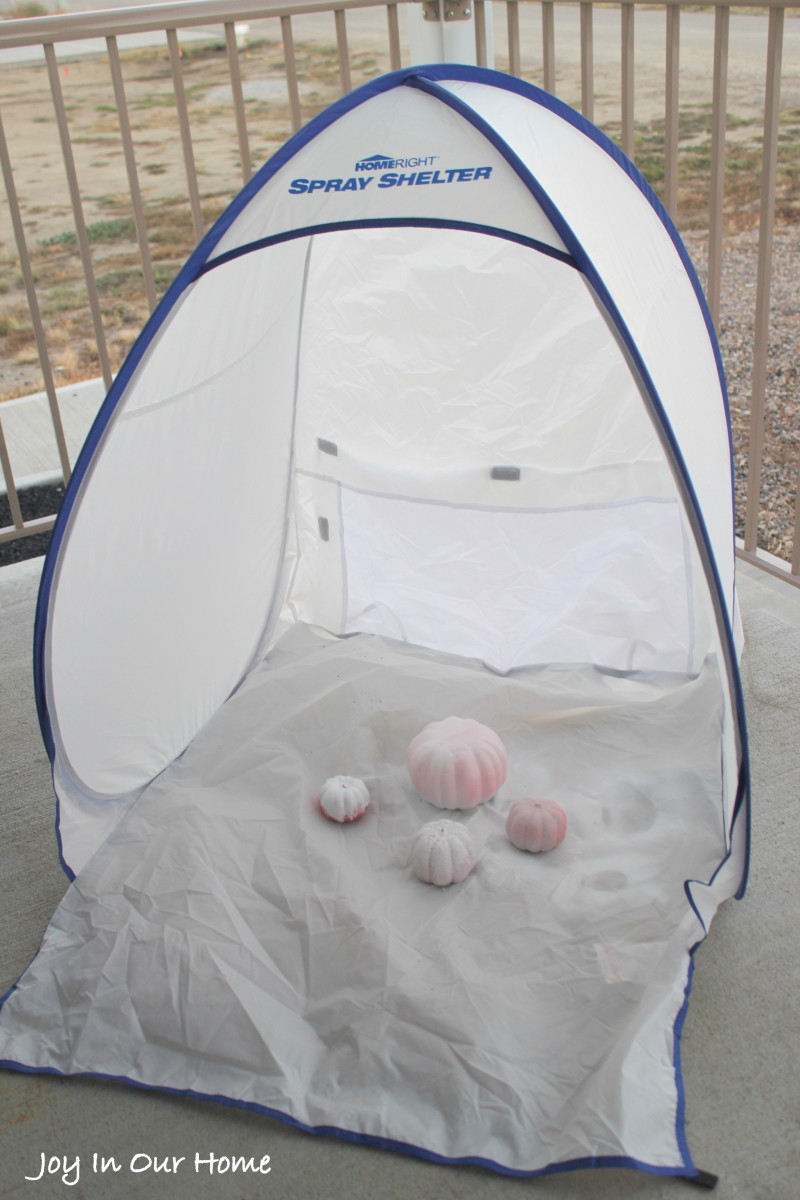
Fast forward a few weeks (and a water break on the second storey of our house) and suddenly we’re out of our home and we don’t have a garage or backyard to do all our DIY projects in. And just like that, I’ve come to appreciate my tabletop Home Right shelter that much more. We’re currently living in a rental home while our home is under construction so the Home Right Table Top Spray Shelter is my lifesaver.
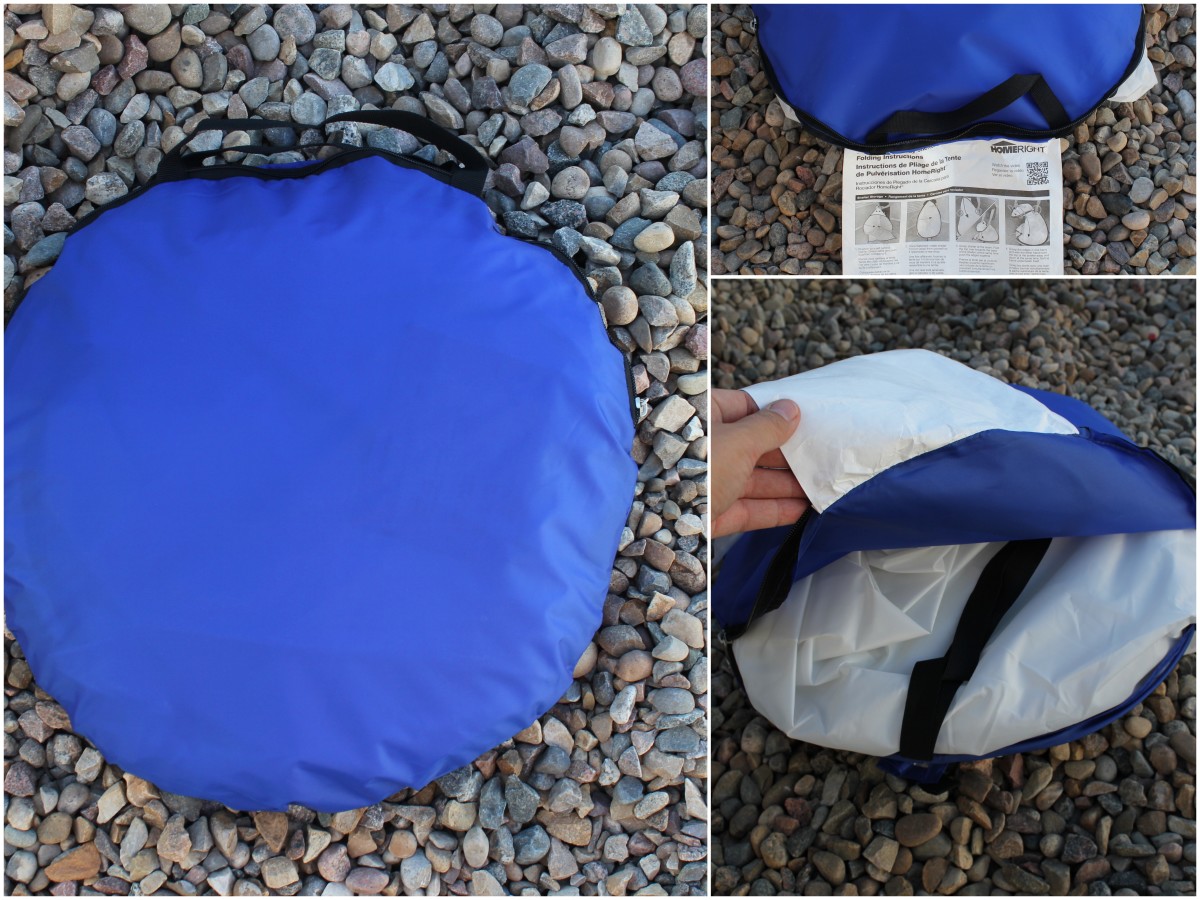
I love how it folds up so nice and flat and doesn’t take up any room at all. The directions are attached to the bag (they must’ve been thinking of me when they designed it, as I’ll never lose it now!!) It pops up super easy and with the help of the directions, it only took a minute to fold back up!
To make these pumpkins you’ll need:
- foam or plastic pumpkin
- Home Right Tabletop Spray Shelter
- paint
- foam brush
- brown paint for stems
Once you have your little collection of the fakest looking pumpkins around, you an get started!
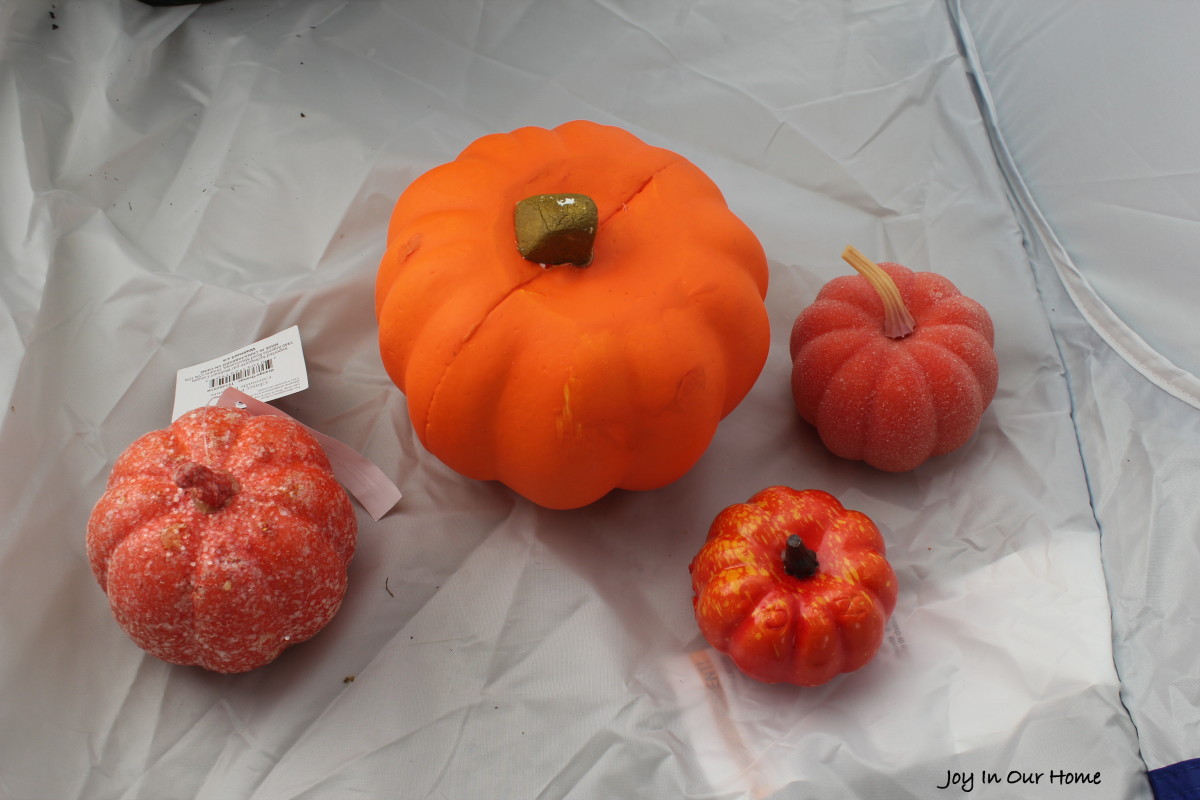
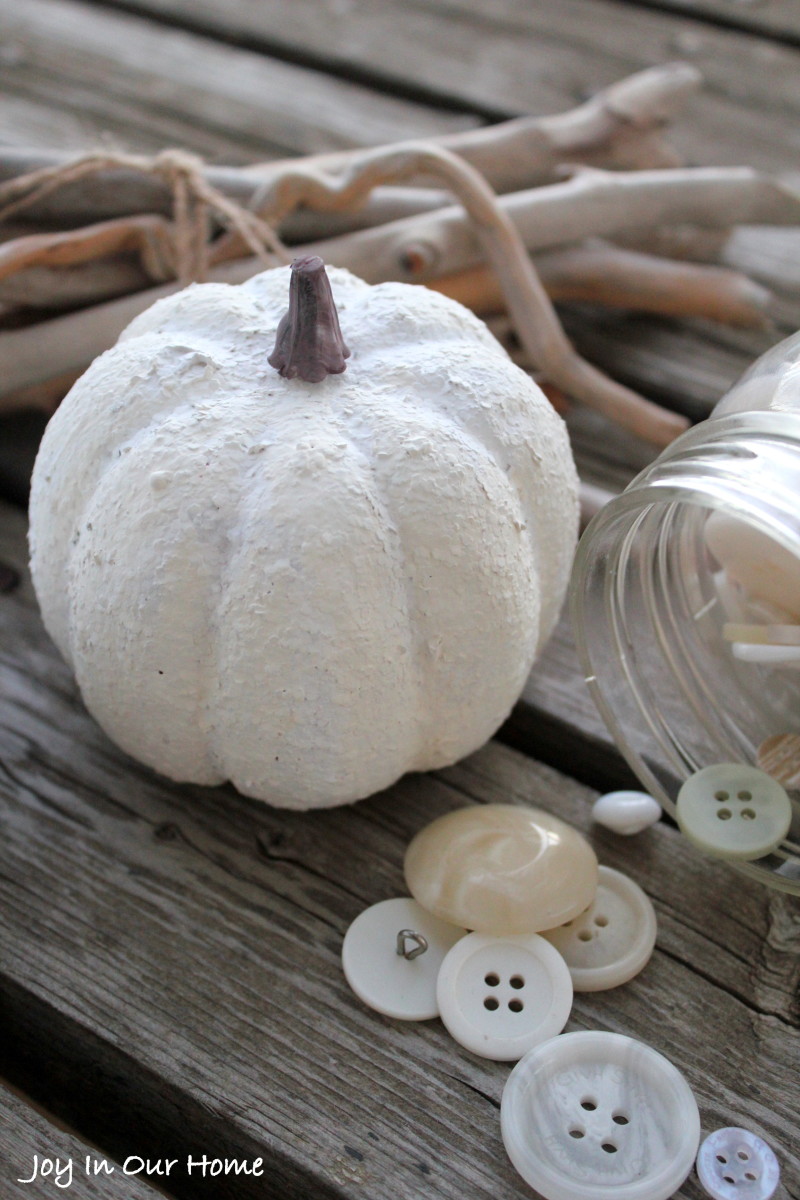
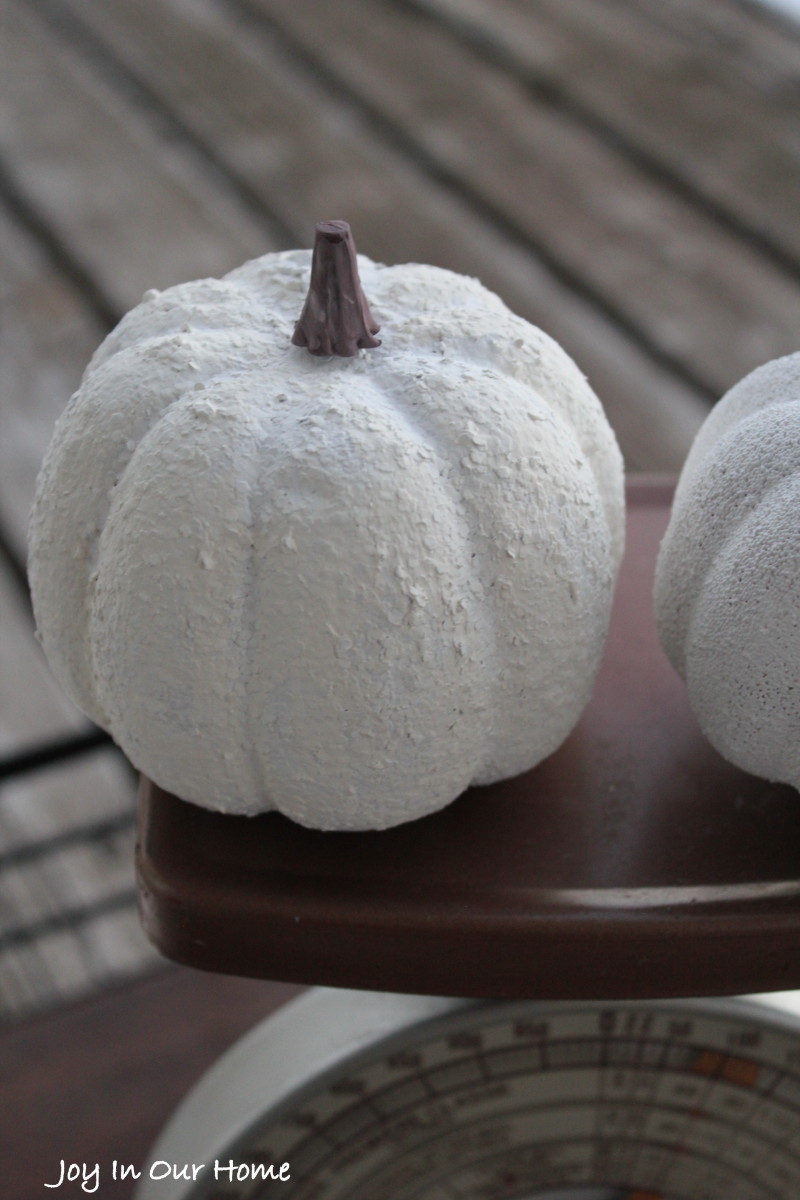
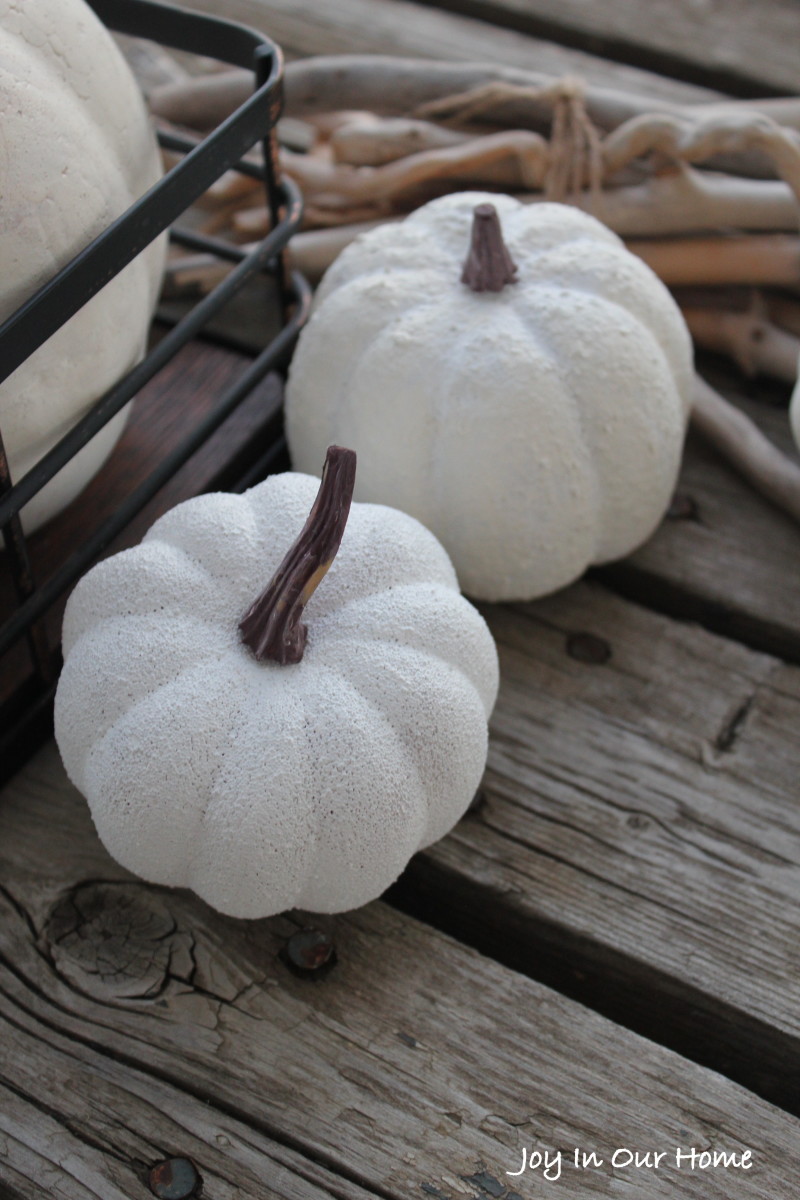
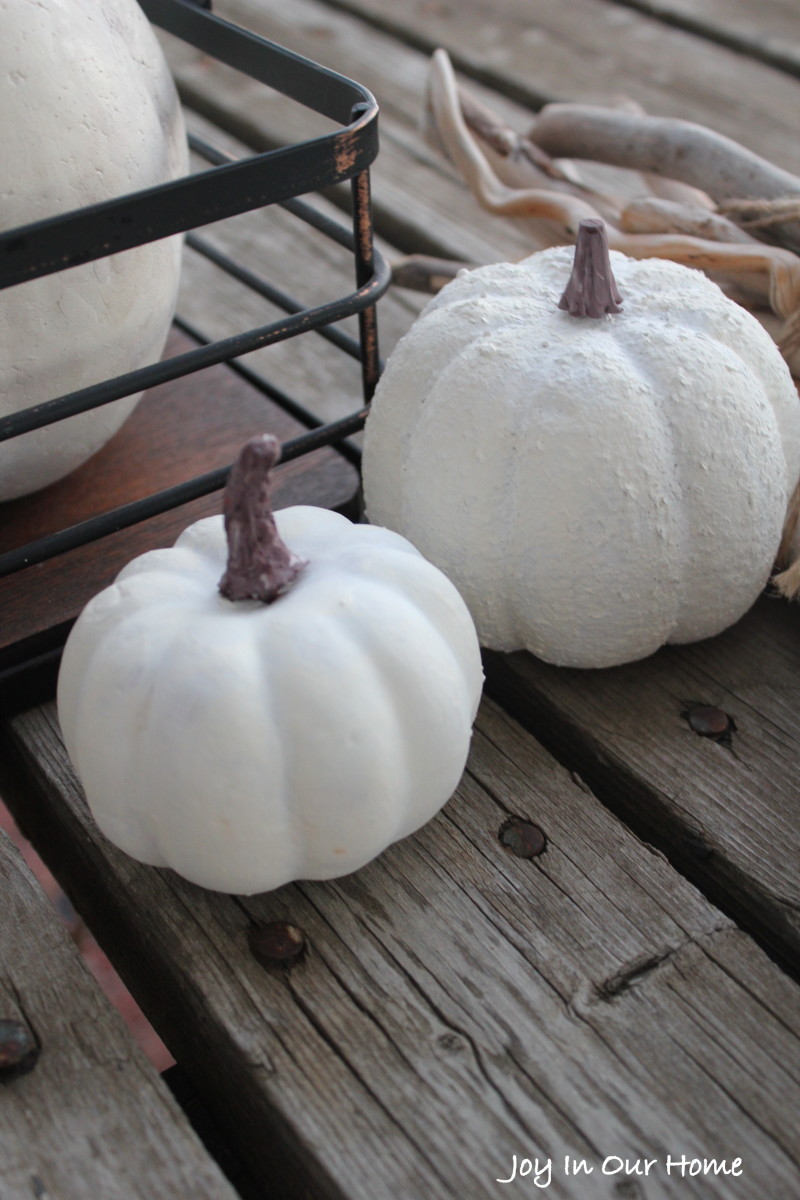
After removing all the stems, I placed the pumpkins inside my tabletop shelter and was ready to paint! I gave them all one coat of white. I then used a foam brush and lightly brushed CIL Honey Frost on all the pumpkins. It gave them that perfect off-white color that natural pumpkins have. For the stems I painted them a blend of brown and honey frost just to give them the perfect stem color. I absolutely love how they all turned out and am excited to display them throughout our home!!
I’d like to say a huge thank you to Home Right for providing this shelter and for making it so easy to recommend this great product!
Thank you all for stopping by today and happy pumpkin making!!
-Kendra
Sharing at: Stone Gable, Cherished Bliss


Super cute pumpkins Kendra! I love the little station, so much easier to paint etc..
Happy Wednesday friend!!
Paige.Rose
from
http://www.TheQuaintSanctuary.blogspot.com
Thanks so much, Paige!! That tent is a lifesaver!! So glad you like them! xo
SO cute! LOVE the little stems!
Thanks so much, Kristi! So happy with how they turned out!
They look great!!! I love that spray shelter too…that would have saved my garage floor from many over spray accidents. Lol.
Thank you, Lisa! I completely understand!! I’ve had a few “accidents” with spray painting, too; including on my winter boots! 😉 Thanks for stopping by!
These look great! I love the spray shelter. Perfect.
Thanks so much, Amy! That spray shelter is the best! Have a wonderful week!
Fall innovation and fun! Great craft idea to do with friends and kids. Thanks for sharing!
Thanks so much!