Hello Friends!
It’s the second Wednesday of the month and that means time for another Monthly DIY Challenge! It seems like just last week that we had our last challenge like this and I shared our Upcycled Barn Door and now here we are again! This time around, our theme is Scrap Wood/Wood Shims. With projects forever on the go around here, there is no shortage to our pile of scrap wood!
And so today’s project I want to share with you is all about practical. Nothing really totally gorgeous and breathtaking. If you’re looking for something like that, maybe check out my Pinterest boards where you’ll find lots of amazing inspiration. Or this beautiful room that we just completed in a 6 week makeover!
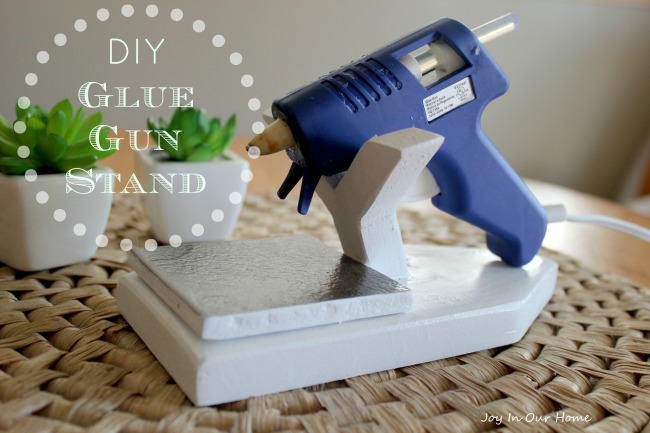
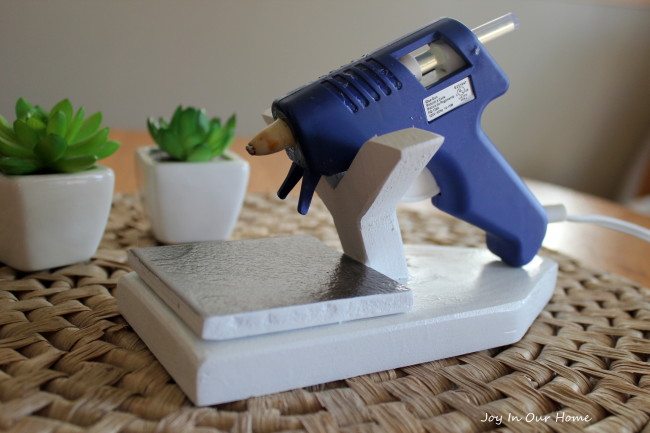
However, I am super duper impressed with this little beast… my new Glue Gun Stand!!!!
Now, I’ve been using a glue gun forever. I think this one might be my third one (they do last for ages though it seems!). Up till now I used a big piece of tile to set my glue gun on. While it worked perfectly fine, I always had to make sure it didn’t scratch any surfaces I set it on and it got very messy all.the.time. The bigger the surface, the more you have to clean, right?
A couple evenings ago we were working around in our garage and staring at our big pile of scrap wood when I asked my husband if he’d make me this stand. Of course, being the sweet husband that he is, he said sure! It probably took him about an hour from start to finish (including painting). I’ll show you how he made it… very easy and so handy!
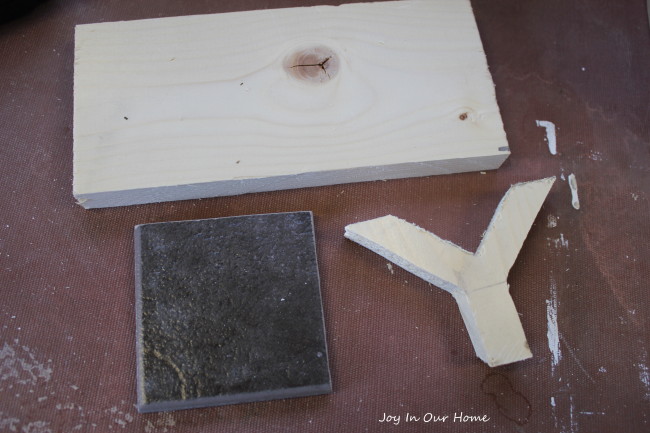 We started with some scrap pine that was left over from the coffee table he made for me. The size of the piece of wood and tile will depend on the size of your glue gun. Mine is a medium size and so the measurements I’ll share are perfect for it. You’ll need one piece of scrap wood that measures 3 1/2″ X 8″. Ours was 3/4 inch thick. For the tile, he used a small scrap that was left over from the bathroom renovation and cut it down to a 3 1/4 inch square. He then lightly sanded the edges of the tile to make sure they were smooth. For the “Y” shaped piece pictured above, he used another scrap piece of the 3 1/2 inch wide pine and it was 3 inches high.
 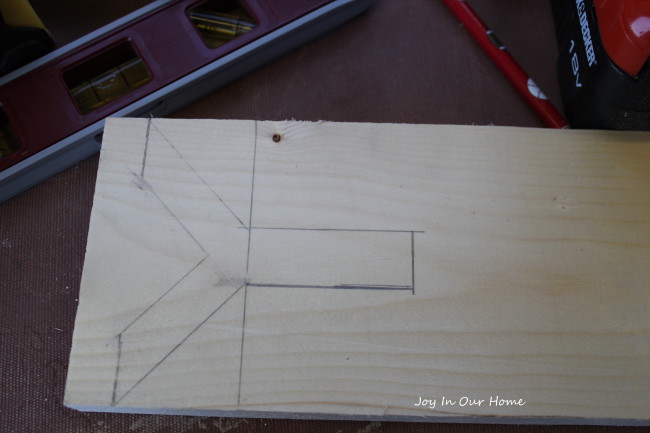 As you can see in the photo above, the “tail” on the “Y” originally started out much longer but the total height of 3 inches was what worked best for my size of glue gun. The tail itself measures 1 1/4 inches to the bottom of the “V” and the “V” makes up the other 1 3/4 inches. Any longer and the glue gun wouldn’t sit in properly. The “Y” itself was then cut on an angle so it would sit slanted on the base to cradle the glue gun.
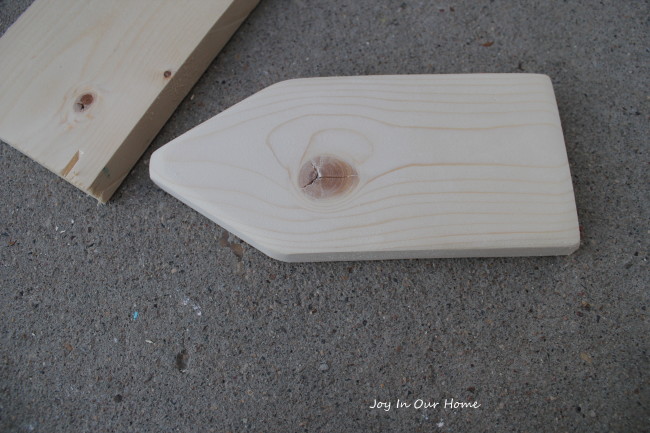 You can shape the base if you want to or leave it as is. I like the slightly rounded end where the glue gun handle rests. It gets rid of the sharp corners and gives it a little more character. Using a hand sander, sand all the edges of the wood including the “Y” piece. This’ll get rid of all the rough edges and any future slivers 🙂
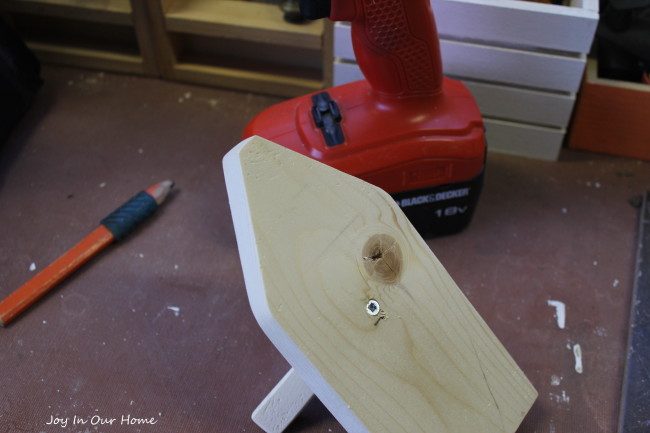
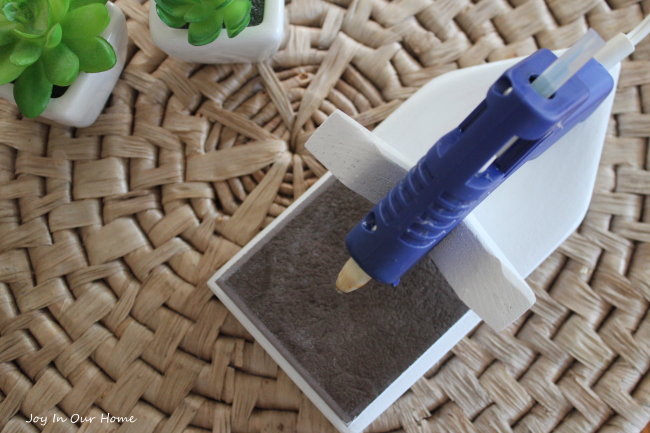
Position the tile in place and then trace where the base of the “Y” will sit. Carefully drill a pilot hole from the bottom of the base up into the “Y”. Glue the “Y” to the base and then screw the “Y” to the base. We used regular carpenter’s glue for this and to attach the tile to the base.
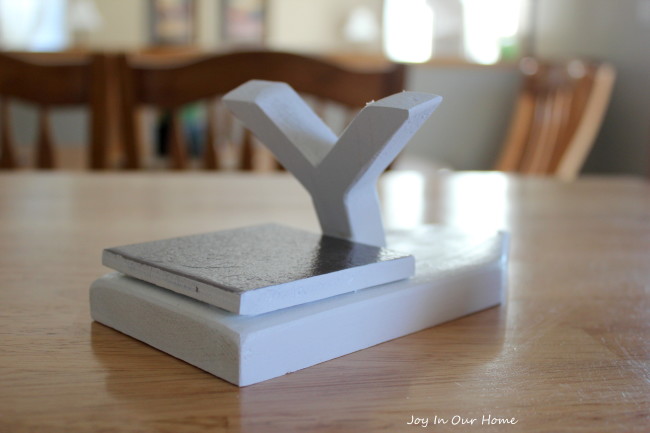 After a quick coat of white paint it was done! I immediately started using it and the stand is perfect! Once the hot glue dries, it’s so easy to just peel or scrape of the piece of tile!
I just think this little guy is the biggest deal! Wish we could just mail one out to ya’ll!
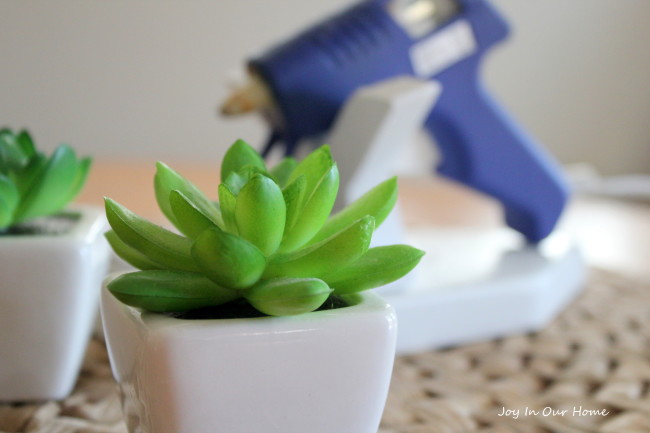
And lastly, I just had to share a little close up of these adorable succulents!
Before you run off, I’d love it if you checked out what my friends came up with… it’s amazing what you can make out of scraps that would’ve ended up in the dump!
Thanks so much for stopping by today… have a lovely day!
-Kendra


Kendra – y’all are so creative! This stand is WAY better than the paper plate method that we use LOL. Needless to say the glue gun tip has bits of paper permanently embedded on it! We would never have thought of your clever idea…well done!
Thanks, ladies! You always make my day with your sweet comments! Had to laugh at your paper plate idea… I should’ve made duplicates! 😉 Enjoy the rest of your week! xo
This is such a good idea! Just this morning I was using my glue gun to glue down a little fleur de lis decoration that keeps falling off our towel holder and I totally could have used this! I got hot glue all over my bathroom counter that I had just cleaned. Love this idea!
Thanks, Lisa! That was me too all.the.time! The glue is so easy to remove from the tile! Thank you for stopping by! Hope you have a great rest of the week! xo
This is seriously SO BRILLIANT! My glue gun is always tipping over because I’ve twisted the cord too many times so I’m always having to clean up glue that gets on everything! I definitely need this in my life 🙂
Thanks, Erica! I think you do, too 😉 It is the handiest little thing ever! So glad we do these challenge together, friend! xo
Omg, you’re genius!!! I love this, not to mention it’s super cute!!!
Paige.Rose
from
http://www.TheQuaintSanctuary.blogspot.com
Thank you so much, sweet friend! xo Glad you like it! Hope you’re having a great week!
Absolutely BRILLIANT Kendra!!!
Thanks, Kristi! 🙂
You’re hardcore about your glue guns! nice work.. this looks super useful!
Lol! Thanks, Dan! Glad you stopped by!
What a great idea! I seriously need one of these. Whenever it comes time to using my glue gun, it always turns into a messy disaster. This would be the perfect solution. You can definitely mail one out to me 🙂 Great job to you and your hubby for coming up with such a clever idea!
Thanks SO much, Tara! I wish I could mail one out to you… I will have to post the picture of what I used to use. One big mess! 😉 So fun to do another challenge with you, girl! Have a great rest of the week! xo
I really need one of these so bad! Thanks for sharing how you made it!
Navy Wifey Peters @ The Submarine Sunday Link Party
You’re welcome T’onna! Good luck making it 🙂 It is so handy! Thanks for stopping by 🙂
This is such a great idea!! I always forget to put something underneath my gun and I get dried glue everywhere! Thanks for the great tutorial friend!
Yep, I totally need one of these. I always get hot glue EVERYWHERE. This is genius!
Thanks, Bre!! Hope you have a great weekend! xo
Ok, I totally need one of these ASAP. I always end up using a piece of wax paper to lay my glue gun on, and it gets so messy! This is genius, and so is using a tile to catch the glue drippings!! Pinned!!
Thank you, Amanda! I appreciate the pin too! I think we could get some pretty crazy pictures if we all shared what we used for glue gun holders… me included! 😉 Have a wonderful weekend, friend!
Love, love, love!! I am constantly scraping hot glue off my kitchen counter. This is very smart. I’ll take one!
Thanks, Kim! Wish I could send ya one! 😉 It’s the handiest little thing ever! Thanks so much for coming by!
Great idea Kendra! I regularly scrap glue off of my kitchen table and floor:).
Thank you, Tara! I hear ya… I always had the same problem 😉 Hope you’re having a great week! xo
All I can say is brilliant. This is amazing and so smart. I use foil under mine which works and peels off easily but this would be awesome to hold it up too. Thank you for sharing at Motivational Monday Link Party. I can’t wait to see what you share this week too.
Bethany from The Southern Couture
Thank you so much, Bethany! Your comments made my day! So fun to read what everyone uses for their glue guns.. lol! Have a great weekend! xo
This is a great idea! My glue gun “stand” is a paper plate :). I definitely need one of these.
Thanks, Amy! My previous one wasn’t much more glamorous! 😉 Thanks for coming by, friend!
This is the greatest thing I have seen in a long, long time! I’ve been using a piece of heavy duty foil folded in half for years! Sure wish my husband was still alive to make me one & for other reasons too obviously!
Thanks so much, Sue!! So glad you like it! Wish I could have my husband make you one… thanks so much for stopping by!
Can’t believe! What a wonderful idea to make a stand for my glue gun! Actually, was in crying need of a stand for it. Yours has made it!!! In a hurry to make it right now. Hope to get it like yours! Thanks for sharing and such great idea!!! 🙂
Thank you, Rebekah! It’s so handy to have! Hope yours turned out great!