Hello friends!
Are the holidays over for you? Or have they been over for a while? Today is back to work and routine for us around here. I shared a little sneak peek of this project over on my Instagram yesterday and told ya’ll how excited (or not) we were for the early alarm clocks today! Oh well, routine is good but the holidays were even better so it’s kinda hard to get back into the groove!
This post is sponsored by Crates and Pallet and affiliate links are included for your convenience. As always, all opinions are my very own and I only recommend products I use myself. See my full disclosure here.
Today it’s all about what you can do with crates. They are definitely not a new thing but I think the possibilities are endless. One of my first projects on my blog was this crate project and we still use it all the time. It’s usually filled with books and magazines and a few throws to stay warm!
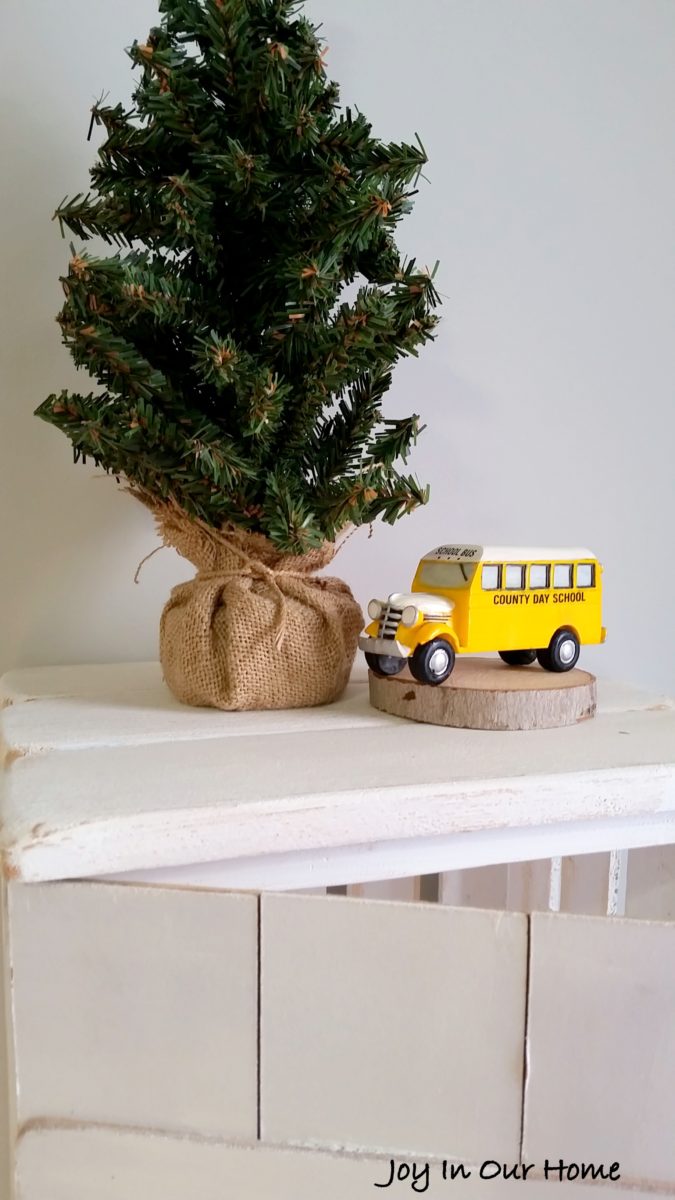
Fast forward a couple years and I’m sharing another crate DIY with you today!
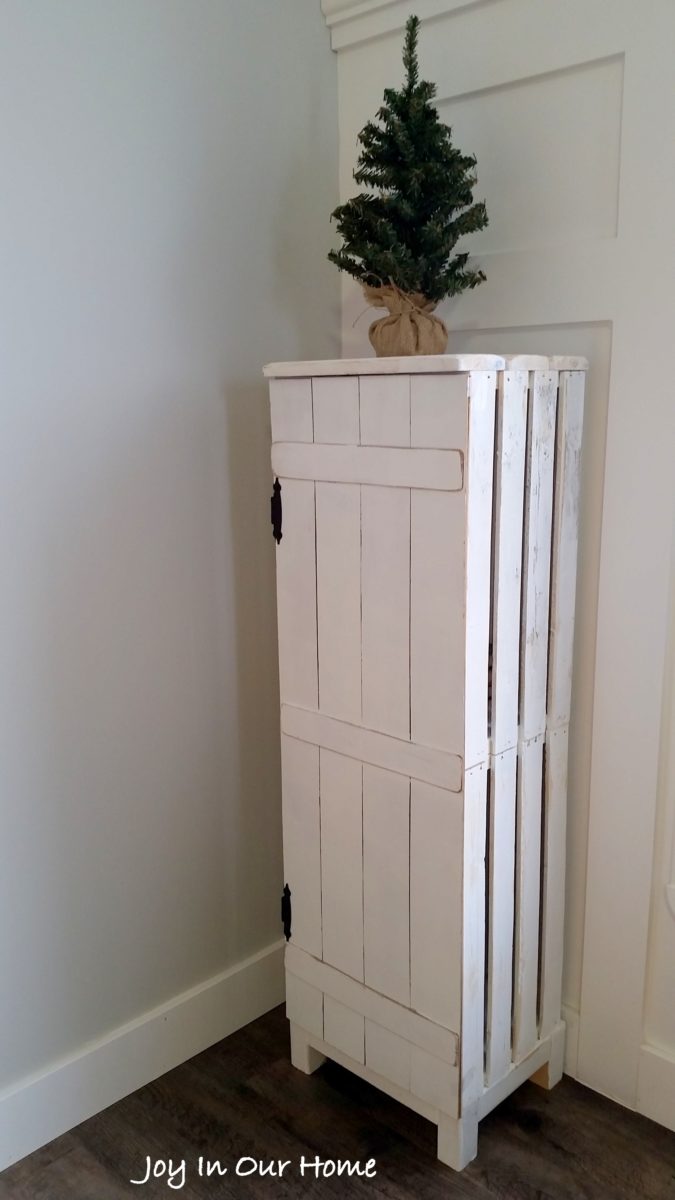
For this project, we wanted to build an end table for our son’s bedroom. He recently upgraded from a single bed to a double and the way his bed is situated, there’s very little room between the wall and bed. I find when you’re looking for a specific (and maybe odd) sized piece of furniture it’s hard to find something that’ll fit perfectly. But you can always build your own, right??
And these crates are the perfect size and fit this space perfectly!
Here’s what we used to build our night stand:
- 2 large crates from Home Depot
- 2 hinges
- 3 – 3 3/8″ X 12″ (the top)
- 4 – 2X2 – 3 1/2″ (base legs)
- 2 – 2X2 – 6 1/2″ (base short sides)
- 2 – 2X2 – 9 1/2″ (base long sides)
Using a sander, I gave both crates a really good sanding with 40 grit sandpaper to get rid of all the splinters. (Please don’t skip this step unless you luck out and get a super smooth crate.) I gave the crates a coat of white primer because the wood is raw and I knew it would really soak of the paint. I then used Simplicity chalkpaint from Country Chic and gave them another coat. Since I was going for a rustic look, I used sandpaper to distress the areas that would normally receive wear.
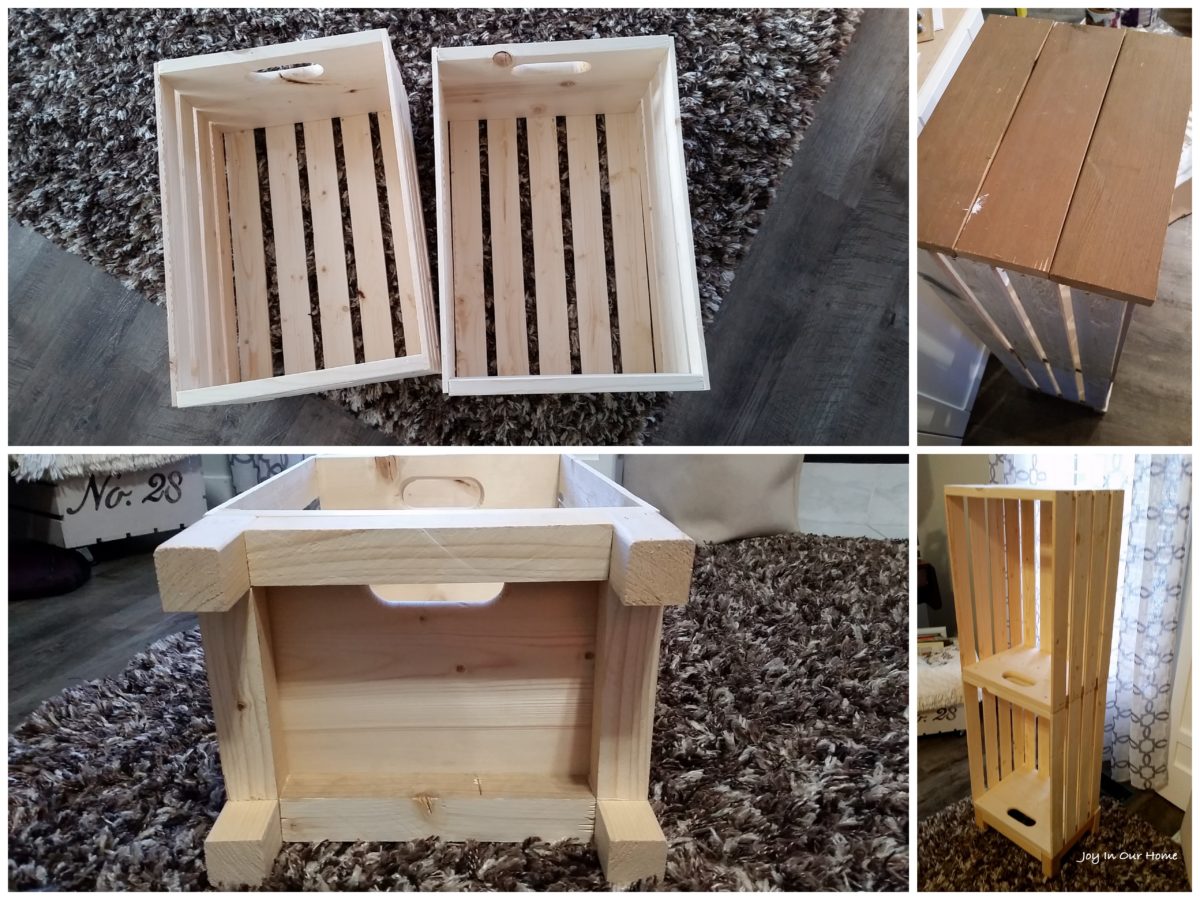
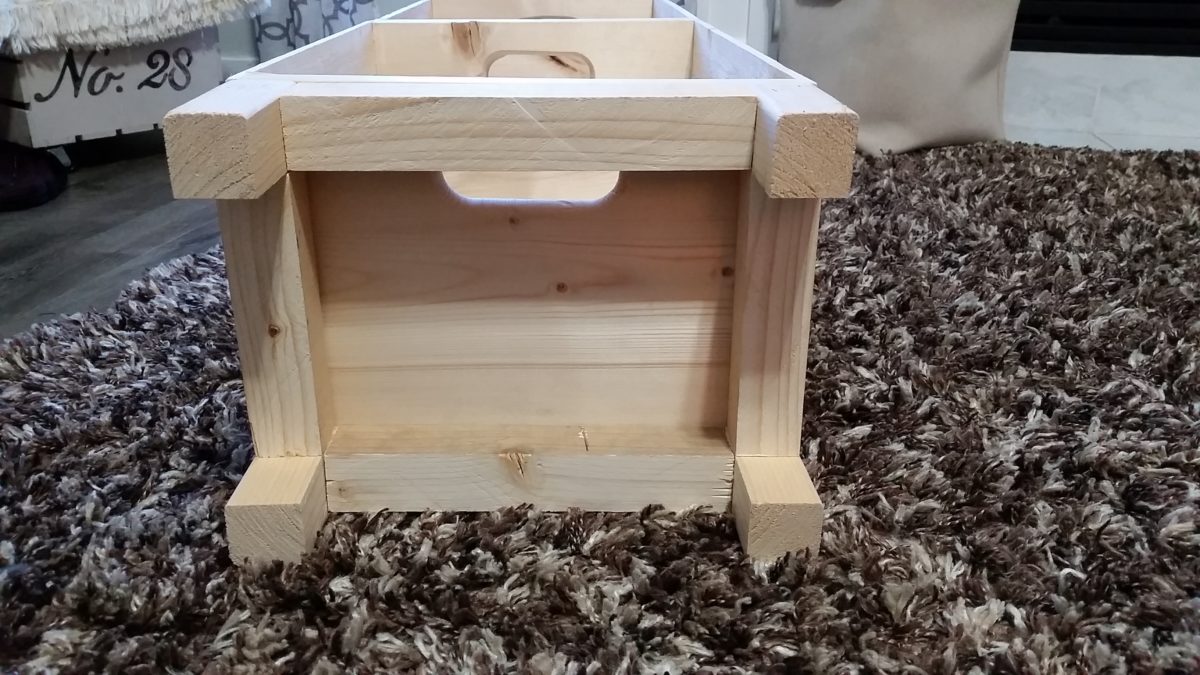 For the base, using the above picture as a reference, nail the longer pieces to the leg pieces. Next nail the shorter pieces to the longer ones forming a rectangular shape.
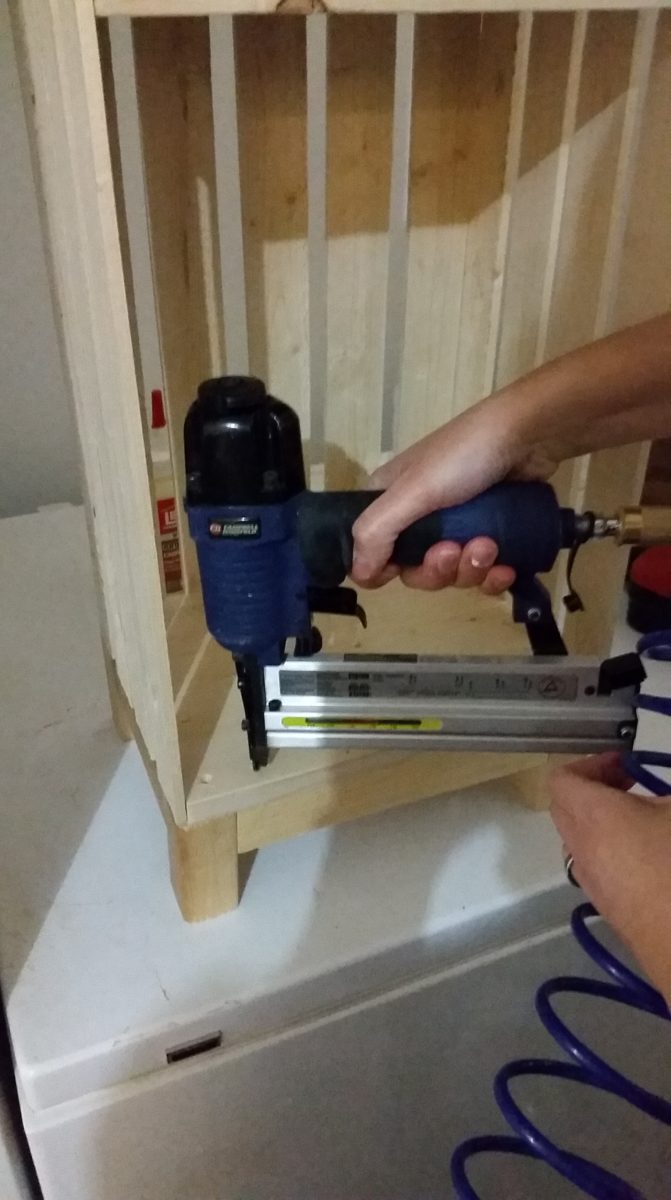
Once the base was formed, I set the nightstand on the base and using an air nailer, I stapled the bottom crate to the stand.
For the door:
- 1 – 35 1/2″ X 12″ piece of standard hardboard 1/8″ thick
- 4 – 35 1/2″ X 3″ pieces of standard hardboard 1/8″ thick
- hinges
- wood glue
The large piece of hardboard will be the base for the door. Using wood glue, glue the 4 pieces onto the larger piece. We set something heavy on it and left it overnight. Attach your hinges and there you have it!
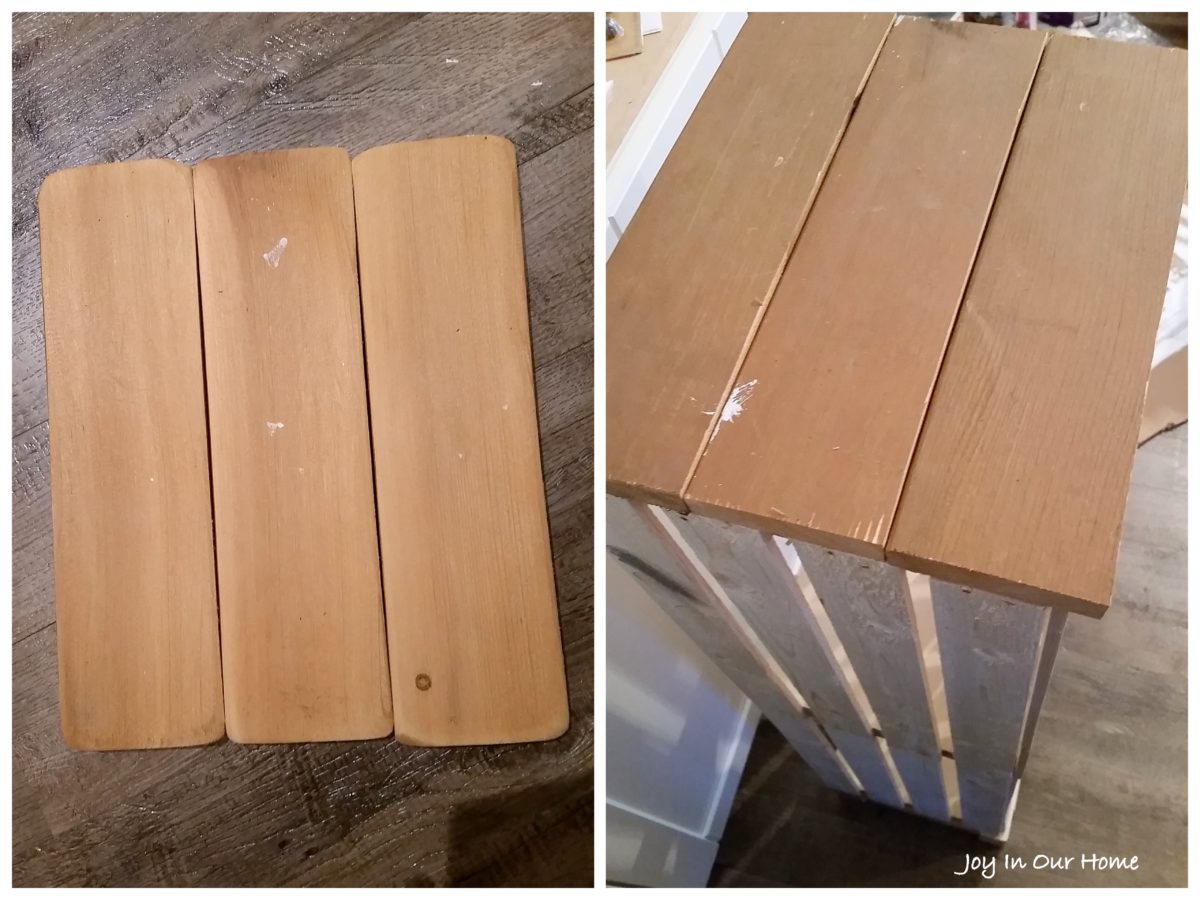
For the top I went to our trustworthy pile of wood that we use for all kinds of projects. The boards in the picture above are actually our old deck rails. I remember the construction guy asking if he can haul them to the dump for us and I’ve never said no quicker!
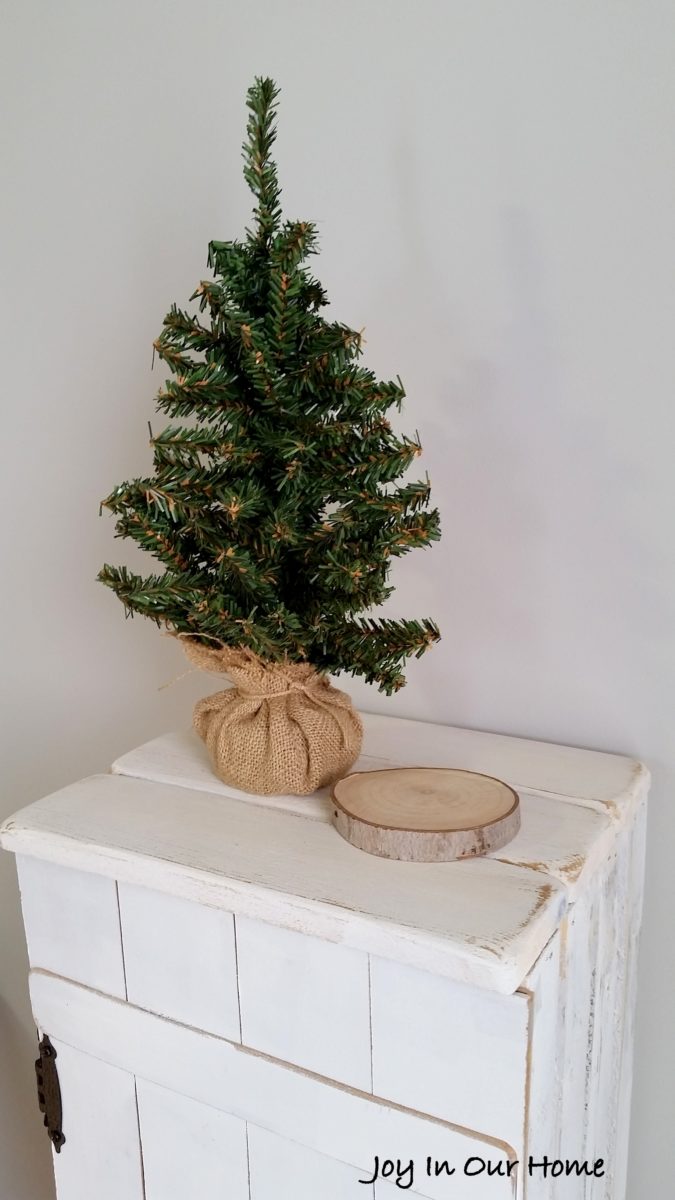
Check out one of our most popular DIYs ever that we made from these boards and then another quick project we used them for too. I painted them the same method as I did the crates.
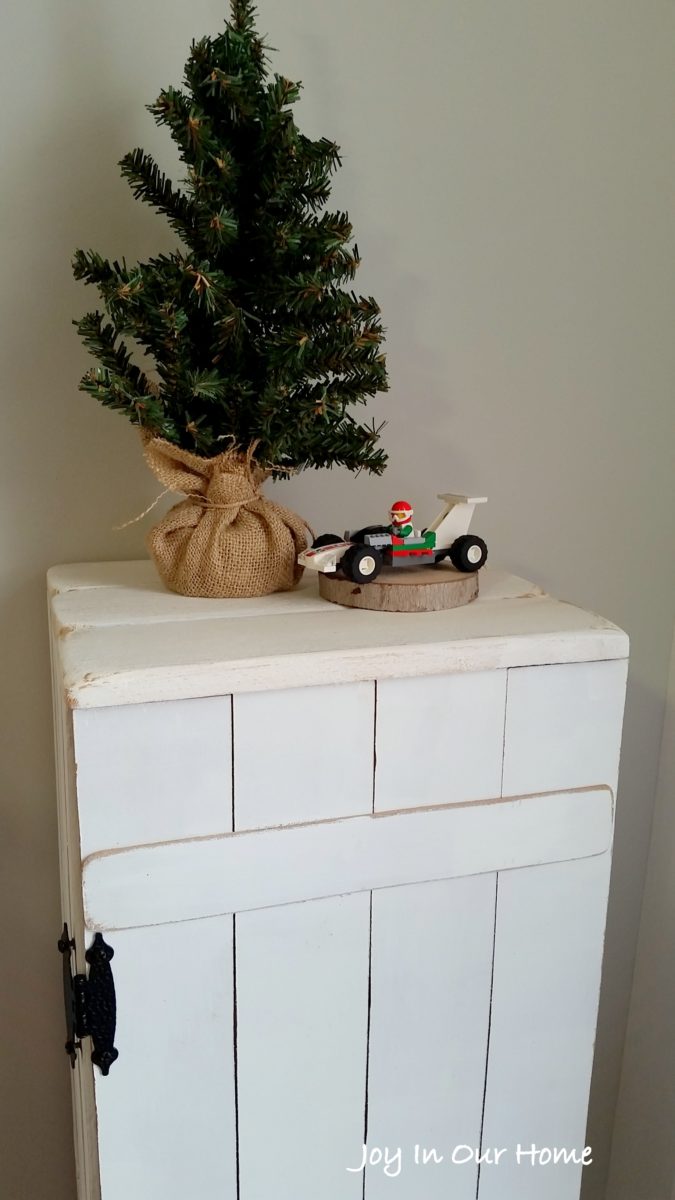
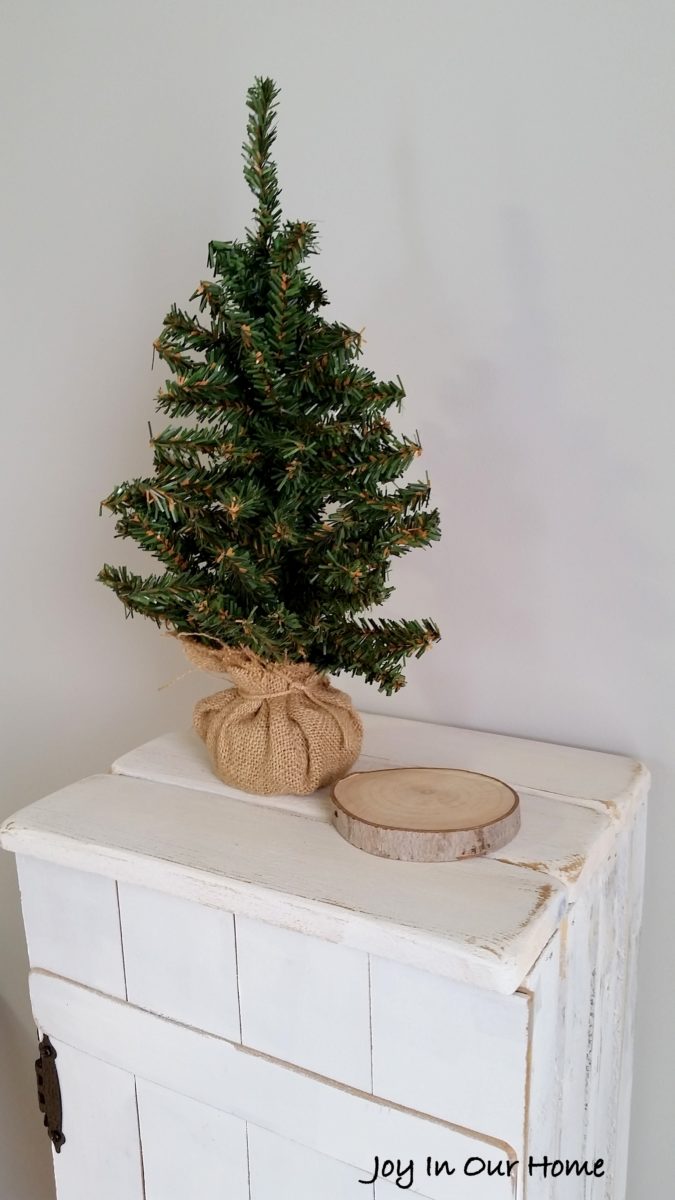
I love how this nightstand turned out and what makes me even happier is that our little man loves it! It’ll be full of books and all his other little treasures in no time at all! We’re redoing his bedroom right now but here’s a sneak peek of the night stand next to his new bed!
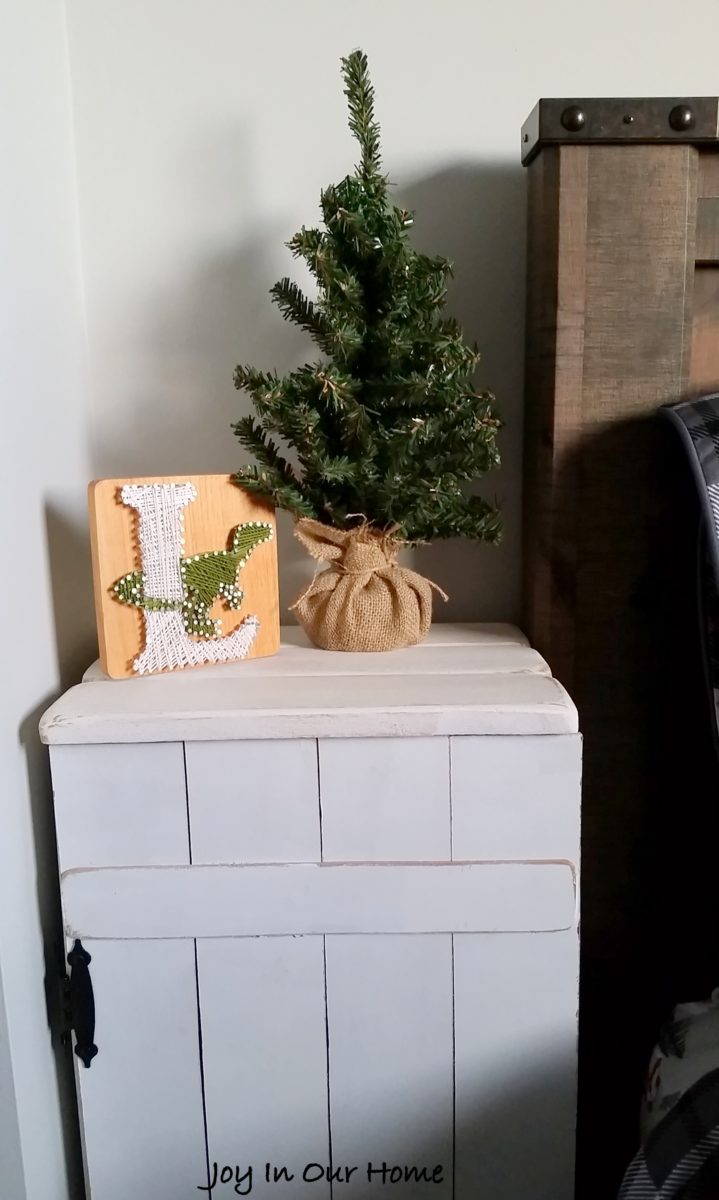
If you want to make your own nightstand or any of the awesome DIYs my friends are sharing below, now’s the time to get your crates! They are currently on sale here and make for a great start to so many projects!
Thanks so much for stopping by today! I’ll be back on Wednesday to share another themed prject


Kendra – this is brilliant! We love that this is made from two crates – It looks like one cohesive piece of furniture. Love the finish you chose too…well done!
Thanks so much, friends! So glad you like it!! Always appreciate your comments! xo
Such a great idea to use the crates to create a narrow end table. It looks fantastic, Kendra!
Thank you so much, Amy!! The crates were perfect for it! Have a wonderful day! xo
Very fun project and perfect for almost any setting. Ideal for kids to store all their little collections! Visiting from Creative Corner party.
Thanks so much Victoria! I appreciate your comments so much! And thanks for visiting our party! Have a great week!
I LUV the crates Kendra. Unfortunately, I can not use power tools….LOL….totally challenged! Love your nightstand!
Thanks SO much, Christine!! And you are too funny… you are so talented my friend, and I know you could master a power tool easily! xo
I absolutely love this!!❤️ It reminds me of bead board and I love that look. I’m definitely going to try and build this.
I’m so glad to hear that Betty! Hope it turned out great! Thanks for stopping by!